TABLE OF CONTENTS
In the previous episode, we made use of existing Songs within the Brand to schedule content for the Christmas popup station.
In this episode, we will look at how to add a few more Songs to the station and upload some custom jingles.
Importing Songs
To add some Songs, follow these steps:
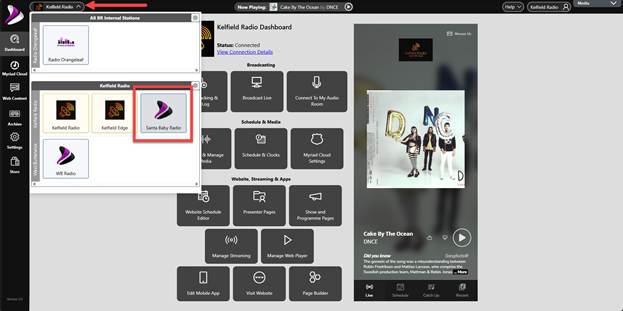
- Login to the Broadcast.Radio portal (https://my.broadcast.radio) and select the Station you want to add content too, from the Station Selector.
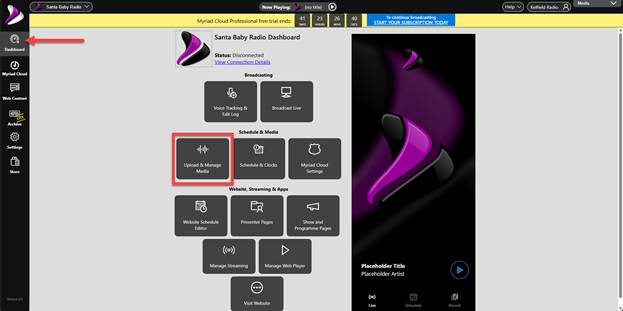
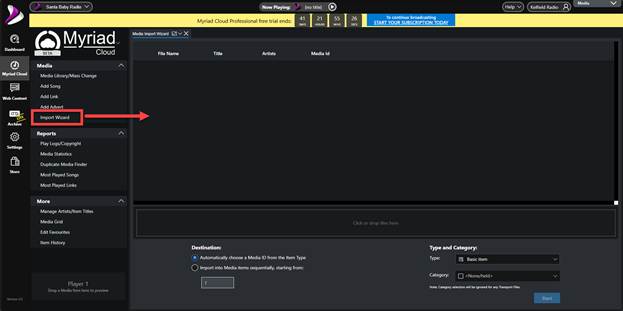
- From the Dashboard, click on the Upload & Manage Media button.
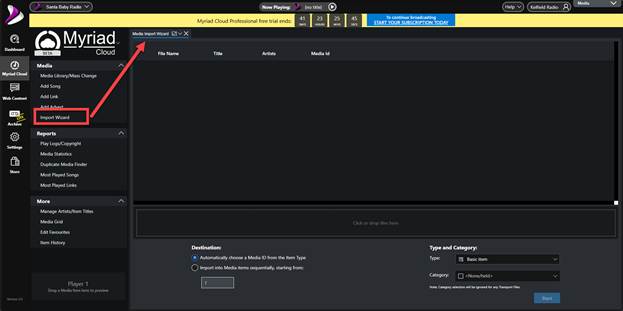
- Click on the Import Wizard option to open the Import Wizard.
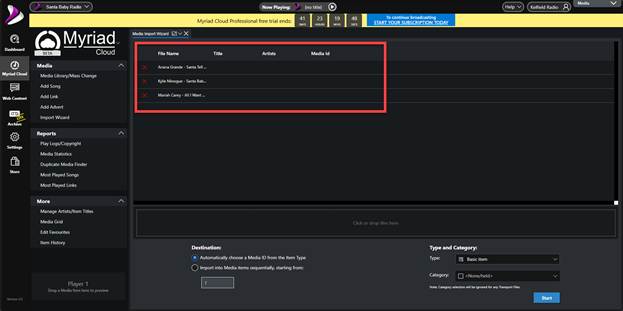
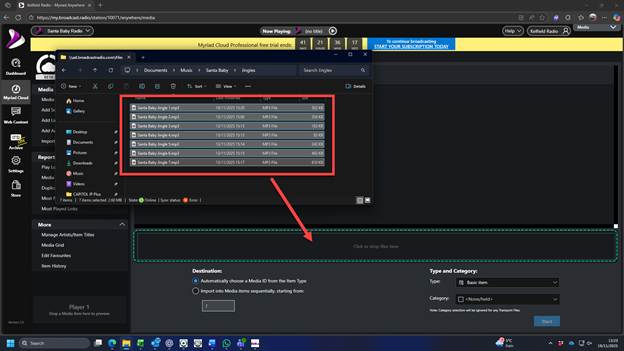
- Use the Windows File Browser to locate the audio files you want to import. Highlight them and then drag them into the area marked Click or Drop Files Here on the Import Wizard.
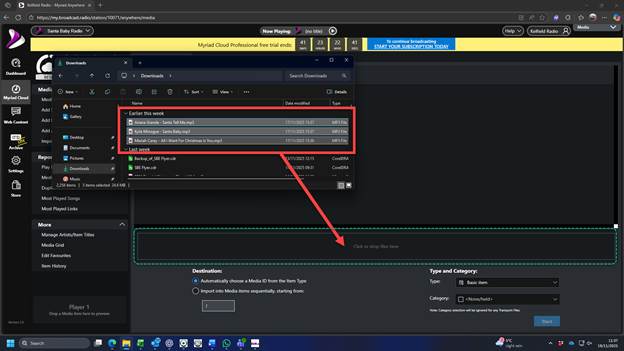
Please note, you can also click on this area to browse to the files to import.
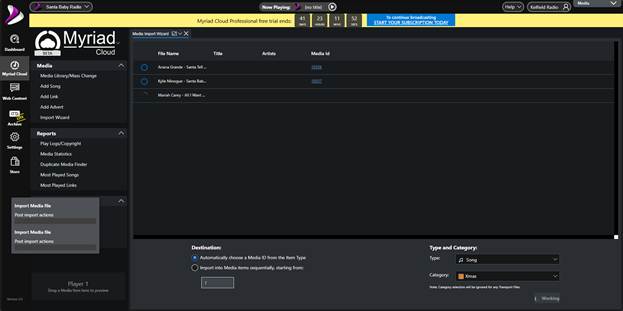
- The audio files will be added to the import list.
- Use the Type drop down list to select Song.
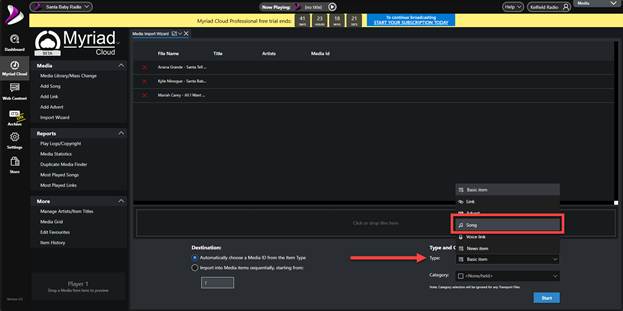
This will set the Item Type to Song for the important audio. The audio will also be added to empty Media ID’s in the media range associated with that Media Type.
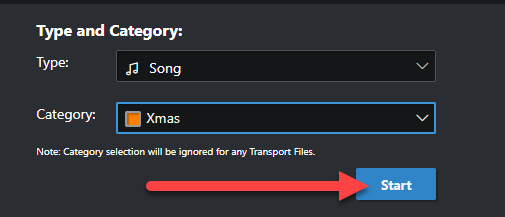
- Use the Category drop down list to select the Category you want to import the Songs into.
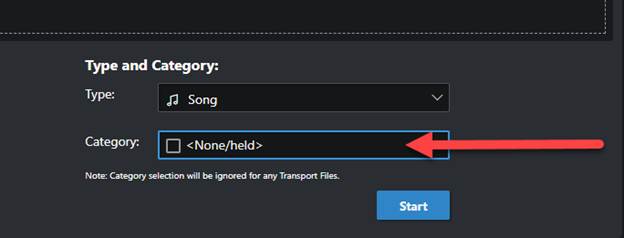
In this case we will choose the Xmas Category.
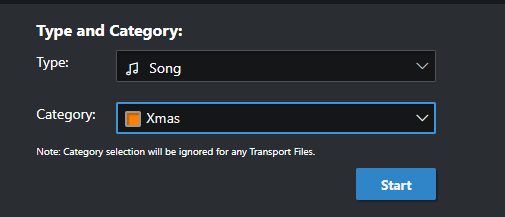
- Click on the Start button.
- The content will be assigned to empty Media ID’s with the Media Type range. The audio will also have silence removed from the beginning, be soft normalised to the target set for the Media Range and have an Extro automatically set.
- Once the process is finished, the imported items will be displayed. Click on Close to close the window.

Importing Links (Jingles)
To import some jingles, we basically run through the same process but select Links as the Media Type and select a suitable Link Category.
Before we import some new Jingles, let’s first create a Link Category specifically for Santa Baby Jingles.
- Click on the module navigation drop down in the top right corner.
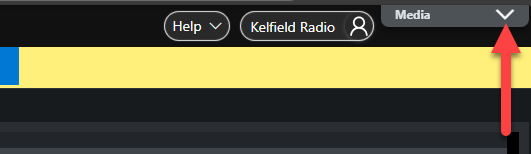
- Select the Station Management & Security button.

- Click on the Categories & Attributes option and switch to the Links Tab.
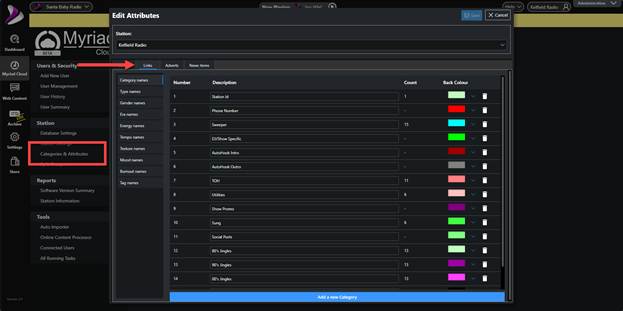
- Click on the Add a new Category button to add a new Link Category.
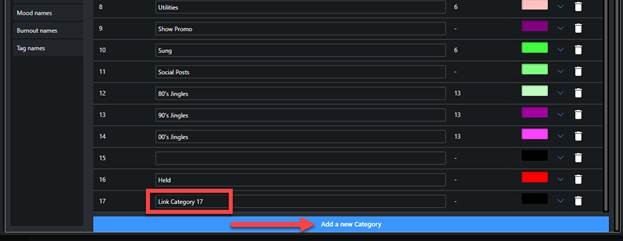
- Rename the Link Category as required. You can also set the colour for the Link Category.

- Repeat this process to add as many Link Categories as you need.
- Click on the Save button to save the new Link Categories.
Now that we have the Link Category setup, we can return to the Media Management module to add some jingles.
- Use the module navigation to switch to the Media Management module.

- Click on the Import Wizard option.
- Use File Explorer to drag the audio files into the Click or drop files here section.
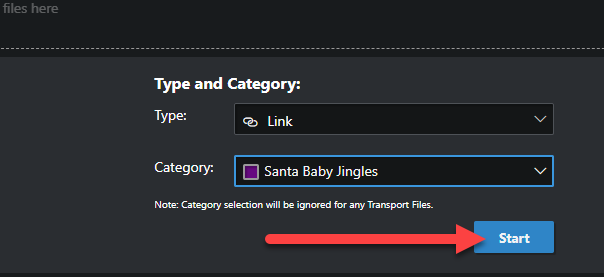
- Set the Type to Link and set the Category to Santa Baby Jingles.
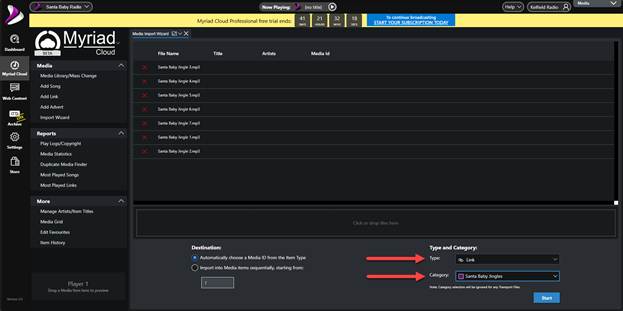
- Click the Start button.
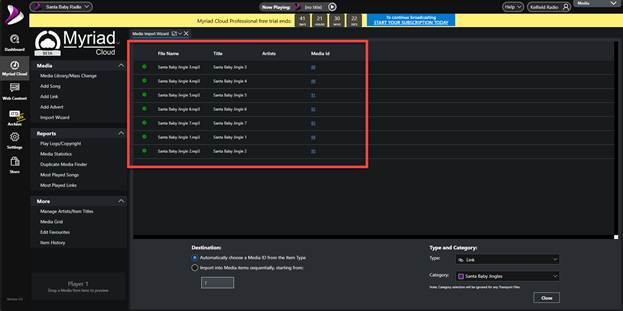
- The jingles will be uploaded and added to the Media Wall.
TIP – We generated our Santa Baby jingles using this website - https://www.aijinglemaker.com/welcome
Now we have some Santa Baby jingles uploaded, the final step is to alter the Clock so that only the Santa Baby jingles are scheduled (and Kelfield jingles are not scheduled).
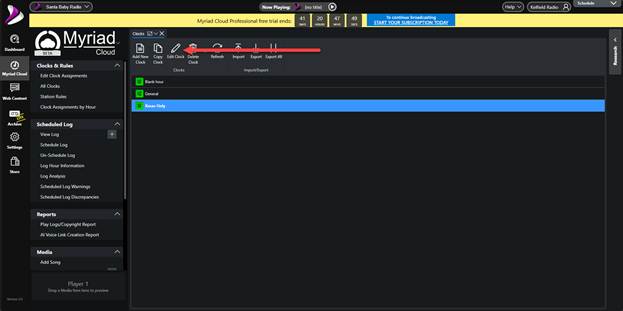
- Use the module quick selector to switch to the Schedule module.

- Click on the All Clocks option to view all available Clocks.

- Scroll down to find the Xmas Only Clock we created in Part 4. Select the Clock and then click on the Edit Clock button.
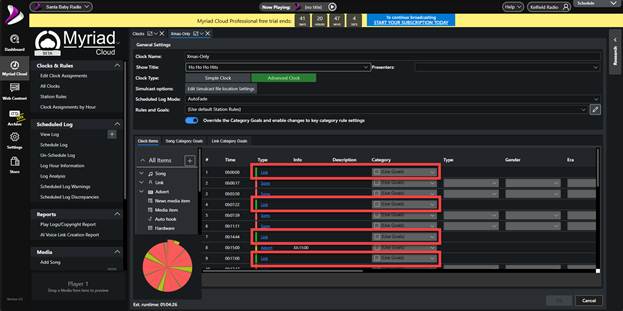
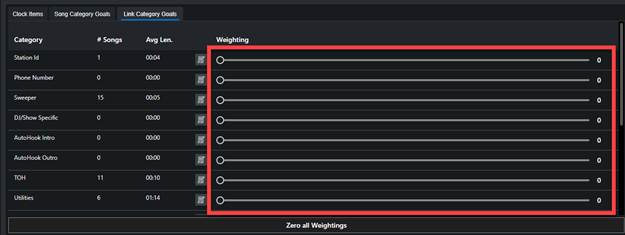
- Check through the Clock Items to make sure all the Links are set to ‘Use Goals
- Switch to the Link Category Goals tab and click on the Zero all Weightings button.

This will set the weightings to zero for each Link Category.
- Scroll down to find the Santa Baby Jingle Category we created earlier and set the weighting value to be 100.
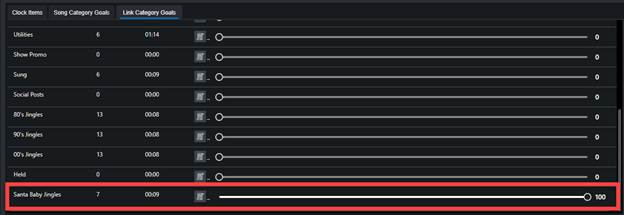
This will mean that all the Links in the hour will be selected from the Santa Baby Jingle category when scheduling using this Clock.
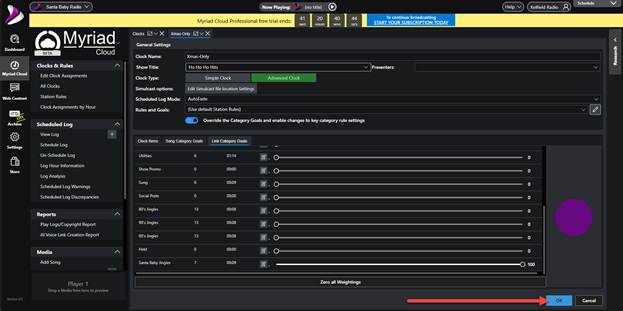
- Click on OK to save the changes to the Clock.
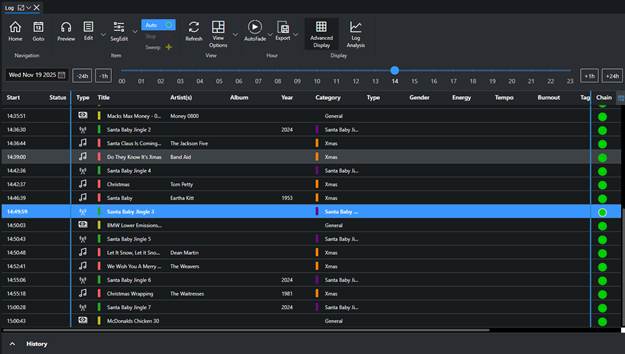
Run a test schedule to ensure the Christmas Songs and Santa Baby Radio jingles are being scheduled.
In the next episode, we will look at adding some AI Voice Links to the station to make it sound more live.
Was this article helpful?
That’s Great!
Thank you for your feedback
Sorry! We couldn't be helpful
Thank you for your feedback
Feedback sent
We appreciate your effort and will try to fix the article