TABLE OF CONTENTS
Now that Santa Baby Radio is up and running it is time to turn our attentions to how listeners will be able to access and listen to the radio station.
Building A Simple Website (Website add-on required)
In order to access the tools in this episode, you will need to have added the optional Radio Website CMS add-on for your Myriad Cloud station or be on a Myriad Cloud Ultimate subscription.
Once the website add-on is enabled, you can access and modify the template radio site as required.
So let’s get started!
Logos & Colours
Let’s start by adding some logos to the website. These logos will be used on the website, the web player, the mobile apps and anywhere else where branding is displayed.
Go to Settings > Station and set the Logo Image & App Icons.

Click on the Set Logo / App buttons and select the image from the media library. If you have not already uploaded the image, click on the Click or Drop Here button and browse for the image to upload.


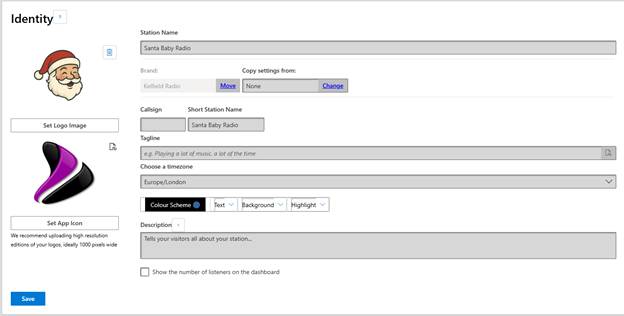

Fill in the other details for your Station.

If you are have purchased the full Broadcast Radio Website add-on, you can ignore the colours section on this page (see below). If you are using a 3rd party platform for your website, use this setting to set the default colours for the landing page and web player.
When you are happy, click Save.
If you have purchased the Broadcast Radio Website add-on, you can set overall colours for your site by following these steps:
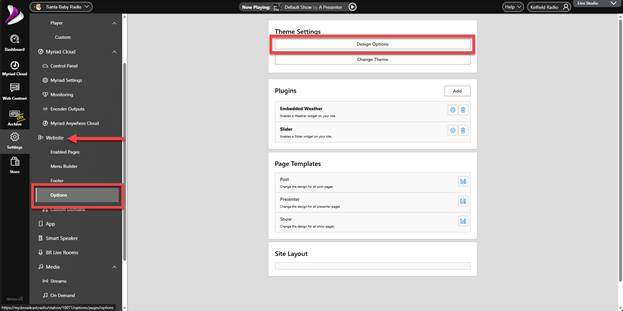
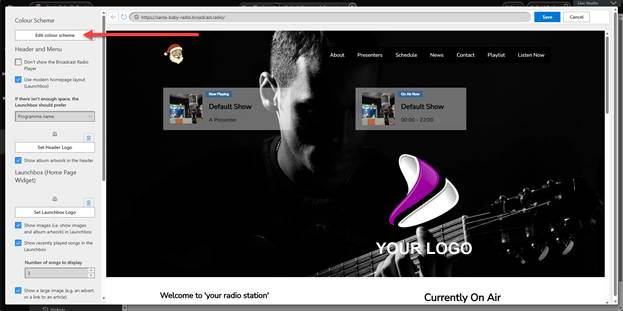
- Click on Settings > Website > Options and then click the Design Options button.
- Click on the Edit Colour Scheme button.
- Use the options to set colours that match your branding. In this example we will pick some festive colours.
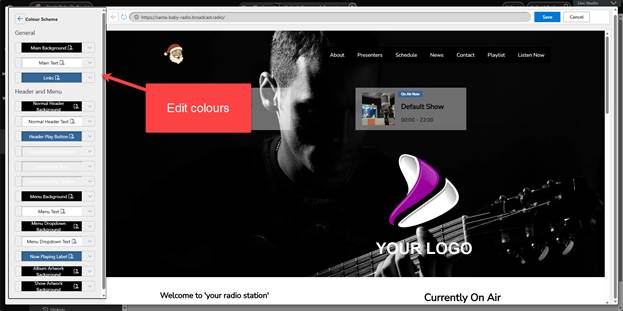

- You can also change the logos and images on the main menu sections and the homepage.
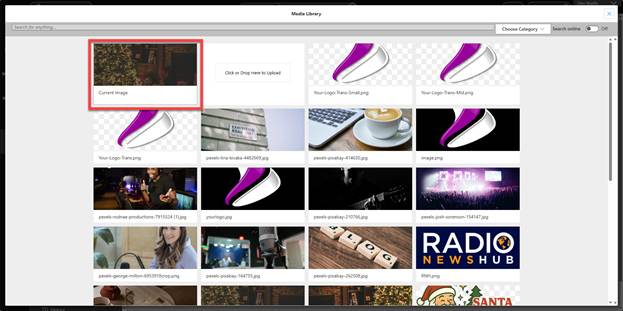
- If you scroll down the Advanced Settings section, you can change the background image on the landing page.

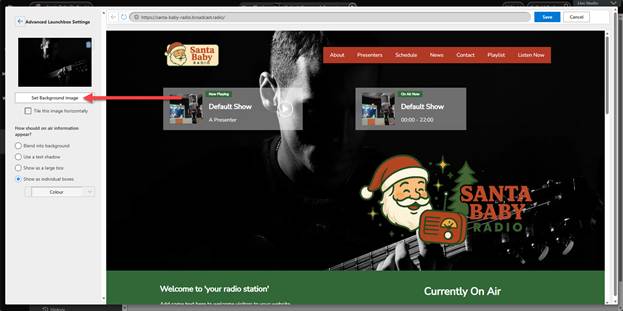
- Upload a suitable image to replace the default background.
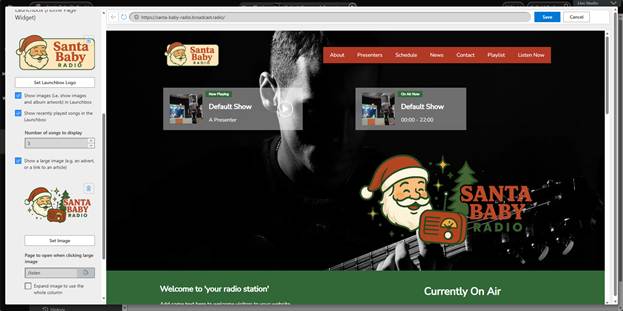
- Play around with the other options until you have a look you are happy with.
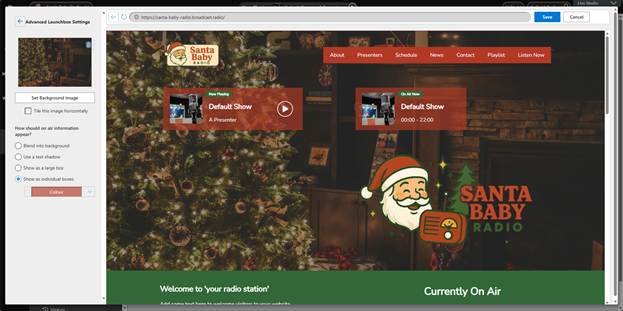
- When you are happy, click on Save.
The website will immediately update to reflect your colour and logo changes.

Contacts & Social Media
To connect your social media accounts and email address to your website, follow these steps:
- Click on the Settings tab and select Social.
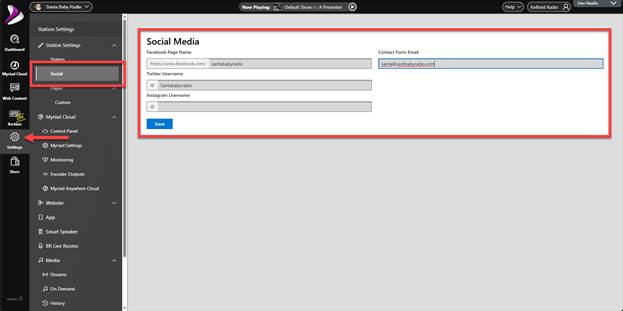
- Fill on your social media and contact details and click on Save.
Replacing Template Content with Your Own
We can now start to replace the content on the template website with real content for the station.
In this example, we will only change the content on the Homepage, but the same process applies to all of the pages in the template site.
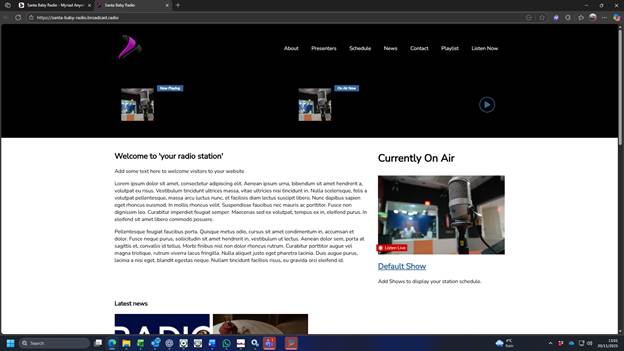
We will start by looking at the Homepage template.

This is what it looks like to visitors of the site. The edit page follows a similar layout with each highlighted section have a matching Element with the text, images and other details needed to create the end webpage.
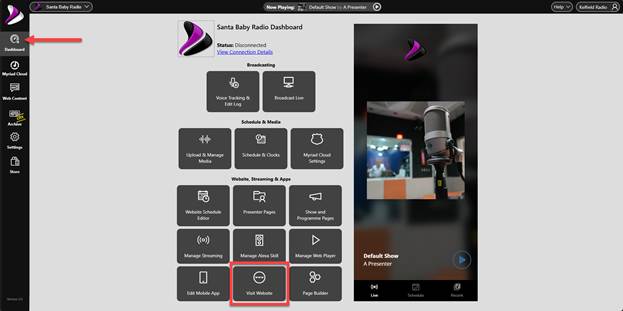
To access the homepage for editing click on Web Content > Pages then select the Homepage from the list.
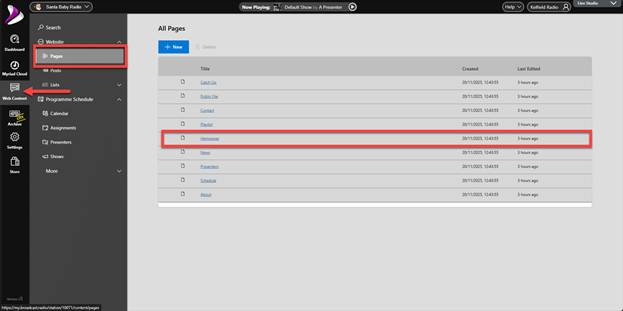
This will open the Homepage for editing.

- Introduction Text Element – A simple text element that you can type or paste text into.
- On-Air Show Element – Special element that shows the currently on-air show based on the schedule.
- News Headline Element – Shows the latest news items added to your website.
- Presenter Element – Shows a set number of present profiles.
- Hero Element – Mixed graphic and text element designed to break up a webpage.
- More Text Elements – Add more text to complete the webpage.
Please note that the Header and Footer Elements are configured in the Settings > Website section.
As this is webpage only needs some basic information, we will remove the News and Presenter elements and update the other elements with suitable information.
To edit text elements, click on the element and type or paste in text. You can also use the options to format font, size and other common text related options.
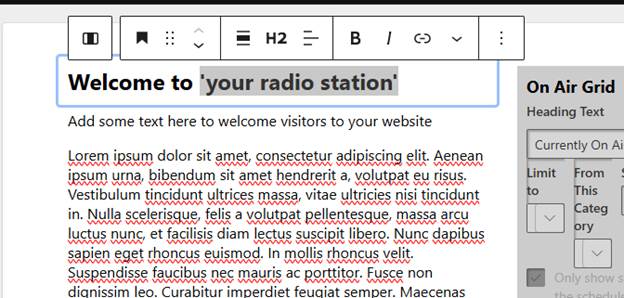
The updated element looks like this:

We will leave the On Air element as it is so it will display the details for the current show.
It looks a little empty, so lets add an image underneath the introduction text.
Underneath the final text section, click on the Add Block button and select the Image Element.
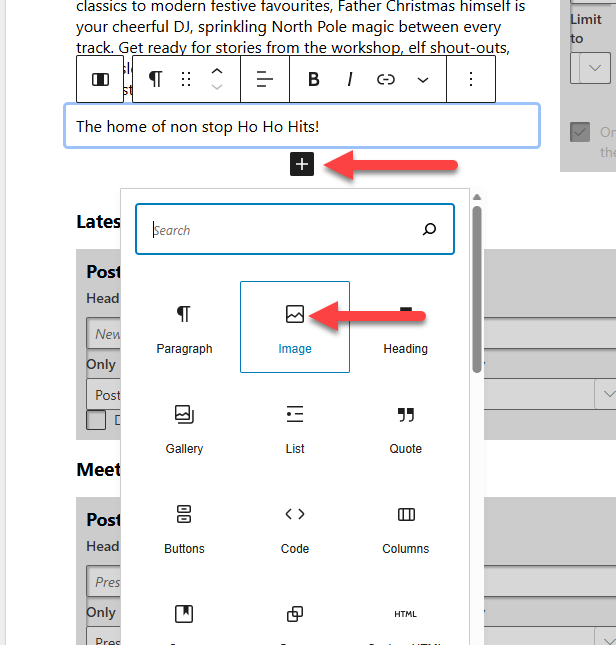

The image will be displayed below the text.

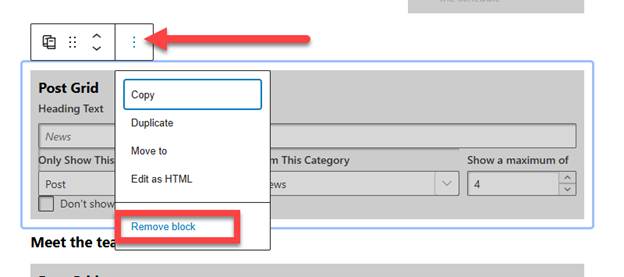
To remove the News & Presenter element, select them and click on the Options button ![]() and select Remove Block. Repeat for all elements you want to remove.
and select Remove Block. Repeat for all elements you want to remove.
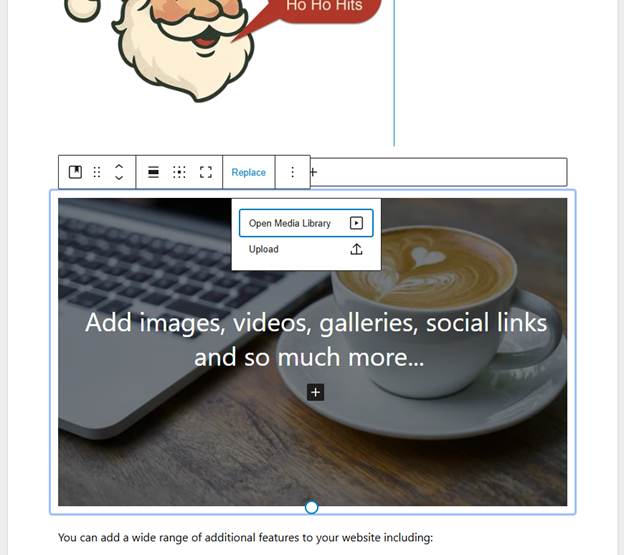
You can select something from your Media Library or upload a new image.

To change the text, select it and type in your new text.
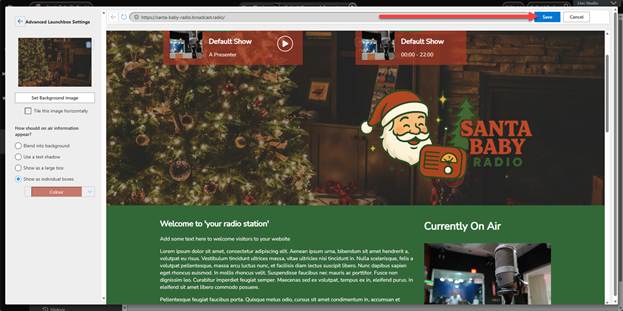
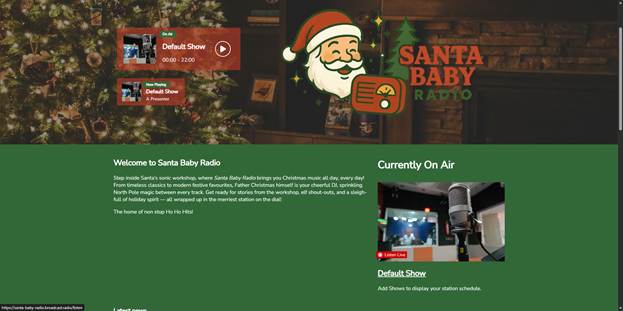
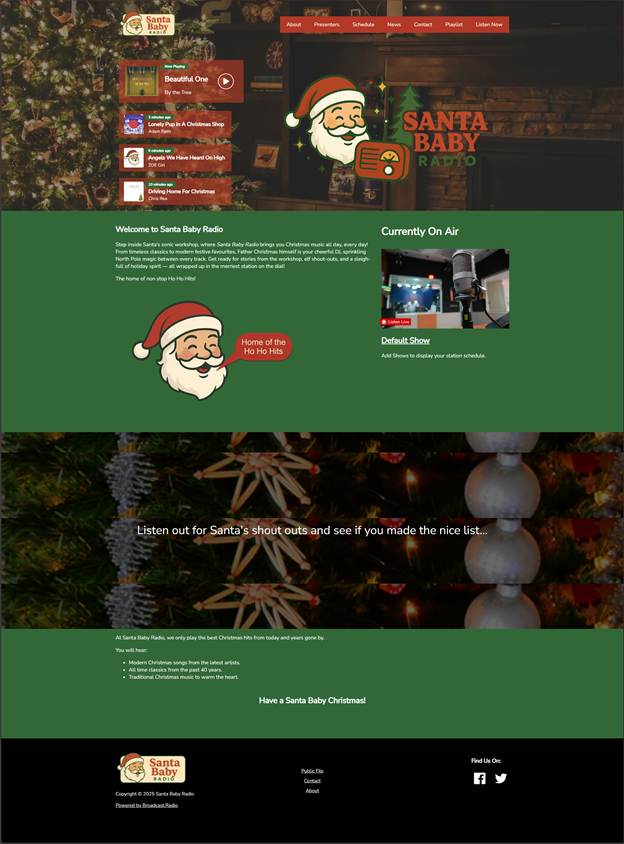
Our finished homepage looks like this in the edit window. Click on Publish to publish the changes.

And the finished webpage looks like this:
We have only touched the surface of is possible with the Broadcast Radio Website CMS, for full details please visit - https://help.broadcastradio.com/support/solutions/articles/101000535093-setup-check-list-for-broadcast-radio
Adding Some Shows to Your Schedule
You can add radio shows to your Broadcast.Radio platform which are used to display the schedule on the following services:
- Web Player (on the Schedule tab).
- Websites (on Schedule page and on Play / On Air elements).
- Mobile Apps (on the schedule tab).
To add a show to you published schedule, follow these steps:
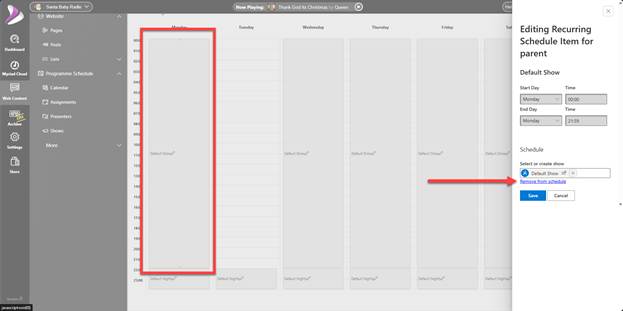
- Click on Web Content > Assignments and then drop down the option list on the Default Assignment and select Edit.
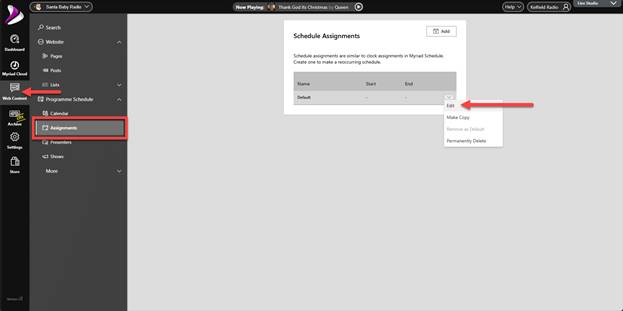
- There will be some default shows listed in the assignment grid.
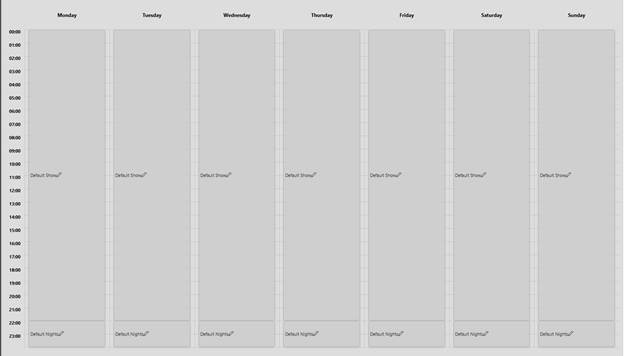
- Select a Show and then click on Remove From Schedule, click Yes when asked to confirm. Repeat for all the default shows to give you a blank assignment grid.
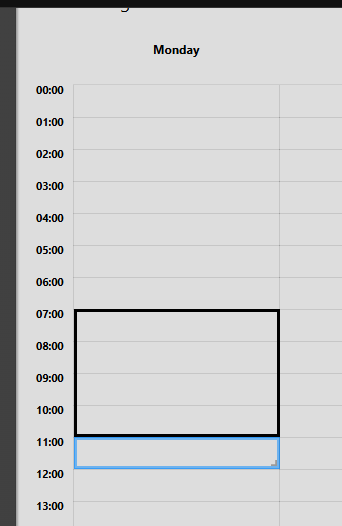
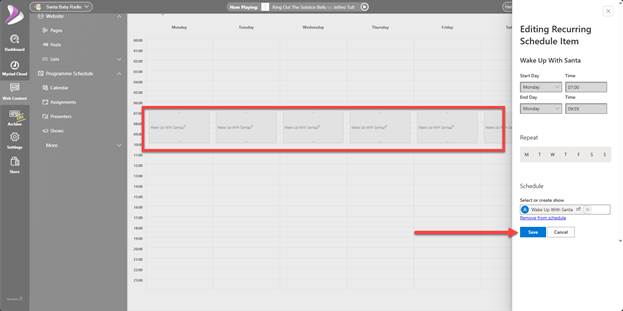
- To add your first Show, drag over the hours you want to add your Show to, in the example, we have selected 7am to 11am on Monday.
- The Show options will open on the right hand side.

- Time – Set the start and end time for the show.
- Repeat – Choose which day to repeat. In this example we have selected all 7 days of the week so the show will be on the schedule from 7am to 11am every day.
- You can select an existing show or Add a new show. We will choose this option.
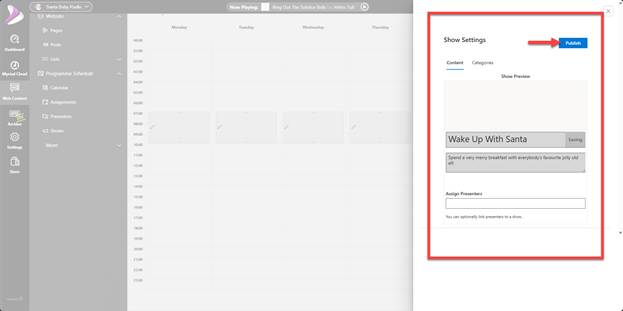
- Select the Add New Show option and fill in the details for the show. Click on Publish when you have added the details.
- The Show will be added to the week as specified, click on Save to save the Show to the selected hours of the week.
- Repeat for all the other hours of the week.
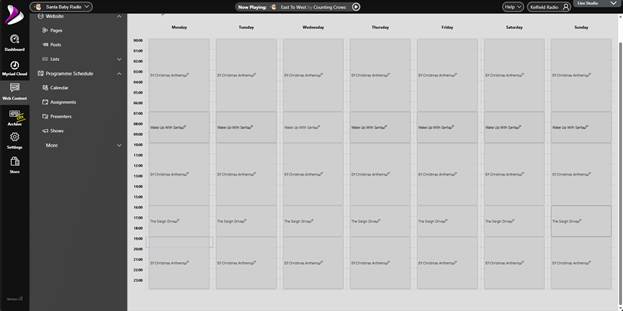
- If you want to edit a show or add an image, click on Web Content > Shows

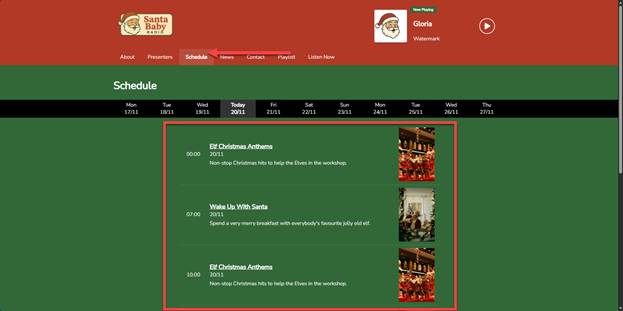
- To view your Schedule, return to your website and then click on the Schedule option on the main menu. The shows will be listed automatically on the website.
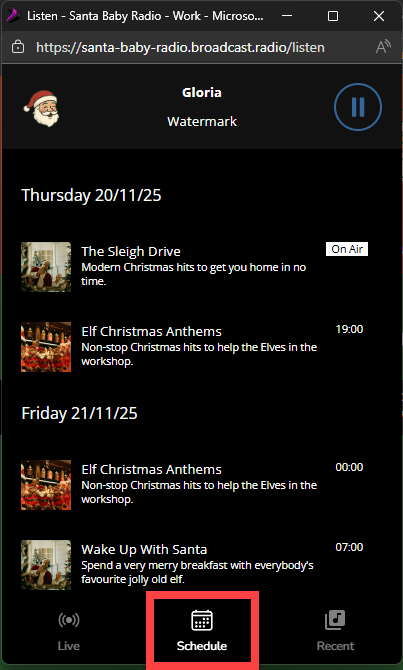
You can also see the schedule in your Web Player.
Customising Your Web Player
All Myriad Cloud packages include the customisable Web Player which can be accessed via your Broadcast Radio website or embedded on 3rd party websites.
As we have already set the colours, logos and the Schedule, the Web Player will be mostly configured but there are a few more options that are worth considering.
Customise Options
To customise your Web Player, follow these steps:
- Login to your Broadcast.Radio portal, click on Settings > Station Settings > Player.
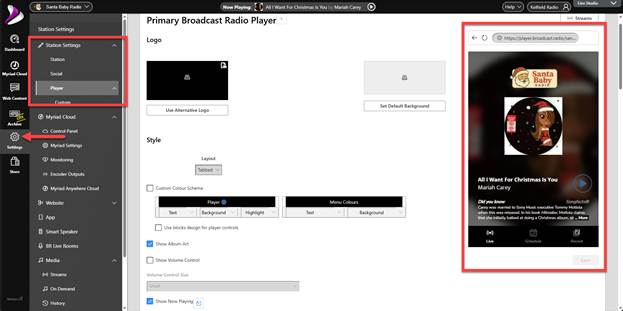
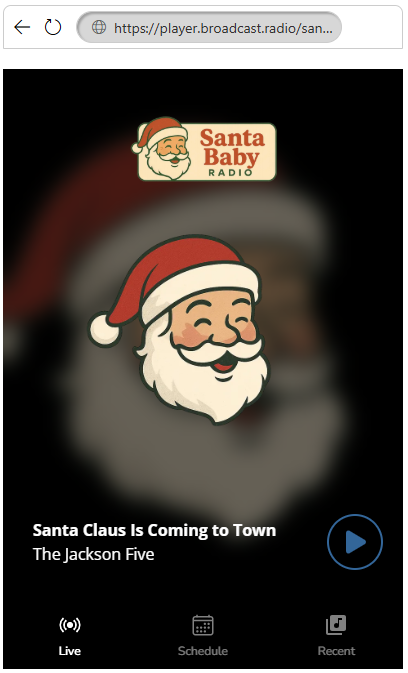
- The right hand side shows a preview of your Web Player with the current settings.
- There are a range of options to allow you to configure your Web Player.
We recommend testing these settings and refereeing to the preview Web Player on the right, to see how the settings effect the player design. No changes will be uploaded until you click on the Save button.
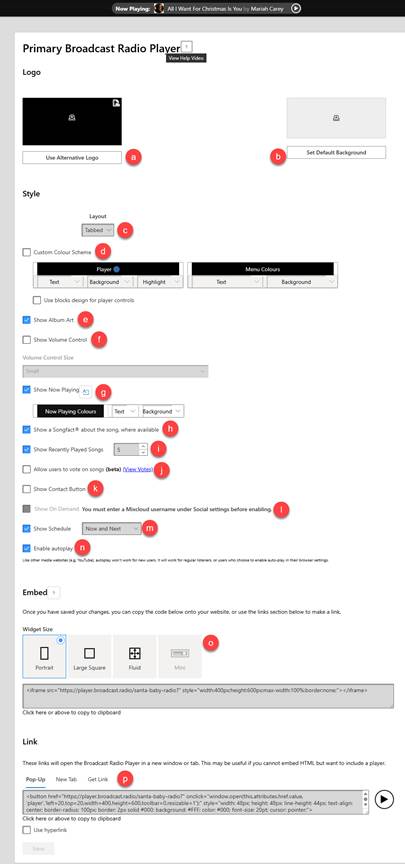
- Set an alternative logo for the top of the Web Player.
- Set an alternative background colour.
- Choose a layout (Tabbed, Full Page, Player Only or Expanding)
- Set the colours for the Web player. You can set Text, Background and Highlight colours for the Player and Menu.
- Show the album art on the player.
- Show the volume controls (and set the size).
- Show the Title and Artist of the current Song, or Show Title if song is not playing. You can click on the
 button to set default text. You can also change the colour options for the Now Playing text.
 - Shows optional SongFacts™ if available.
- Set the number of song titles to display in the Recently Played tab.
- Allow users to vote (thumb up / down) for the current song.
- Enable a button on the player which sends a message to your email address.
- Enable the Catchup tab using your Mixcloud account (you must of entered your account details in the Social section).
- Set the format for the Schedule tab on the player (Now / Next, 1 x Day or 7 x Day)
- Enables autoplay (blocked by most browsers).
- Select the shape option - portrait, large square, fluid (stretches to fit) and mini (player only). Click on the code box to copy the embed code.
- Generate a link that can be used to launch the Web player from 3rd party sites or applications.
- Click on he Save button to save your Web Player. This will update the Web Player design on across your platform.

- There is also a Customisable Broadcast Radio Player section which allows you to create a web player with the settings included in the embed code. This allows you to launch different Web player designs for different situations.
Embedding Your Web Player on 3rd Party Websites
Once you are happy with your design, scroll down to the Embed section, select the Widget Size you want and then click into the code box to copy the embed code.

You can now paste this code into an HTML widget on your 3rd party website.
If you would prefer to launch the Web Player from a ‘Play Button’ or an HTML hyperlink, can get the code from the Link section.
The options are:
- Pop-up – The player will open in a separate pop-up window (recommended).
- New Tab – Player will open in a new tab.
- Get Link – Generates a unique HTML Link which will launch the player when triggered (allowing you to attach it to images etc).

As before, click in the code box to copy the code.
In the next episode, we will setup the optional Mobile apps and Alexa Skill for Santa Baby Radio.
Was this article helpful?
That’s Great!
Thank you for your feedback
Sorry! We couldn't be helpful
Thank you for your feedback
Feedback sent
We appreciate your effort and will try to fix the article