TABLE OF CONTENTS
Introduction
A segue is the unique transition between two items in the Log (or three items in the case of Voice Tracks or Sweepers).
Generally, Myriad will automatically handle each segue based on Media Item Extro time and the general settings regarding audio playout from the Log (see Station Menu > Station Settings > Scheduled Log & Autofade tabs).
You can review and adjust segues in the Log using the Segue Editor tool.
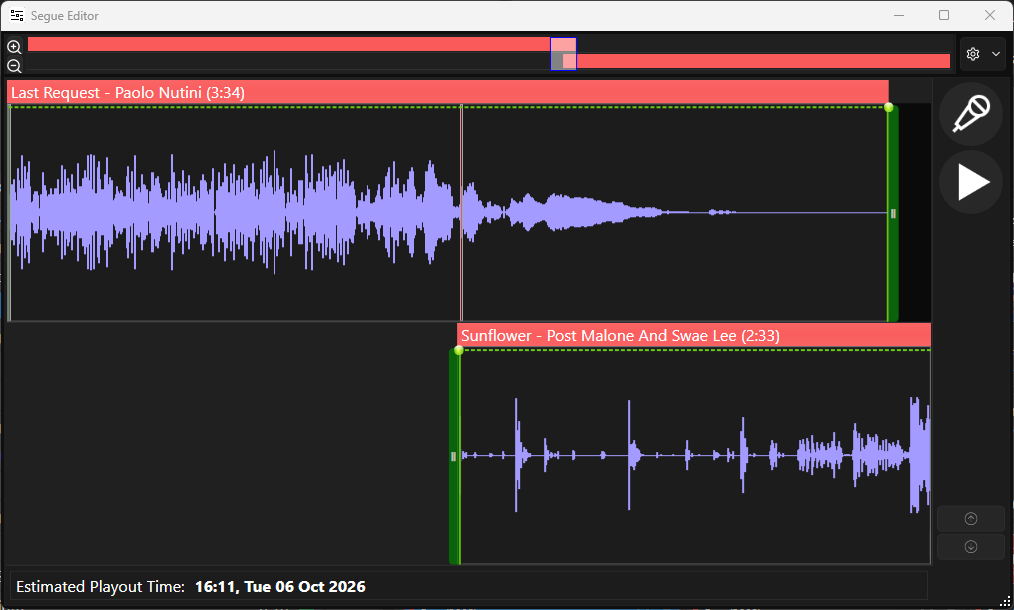
This tool allows you to:
- Review the segue between two items (or three items when it is a Voice Track or Sweeper).
- Edit the segue point by dragging items to the left or right.
- Adjust the audio volume of the segue using the volume envelope.
- Trim audio from the end or beginning of Media Items involved in the segue (for this specific segue).
Reviewing A Segue
You can review how Myriad will play any segue in the Log.
- Select the audio item that should be playing at the end of the segue, from the Log.
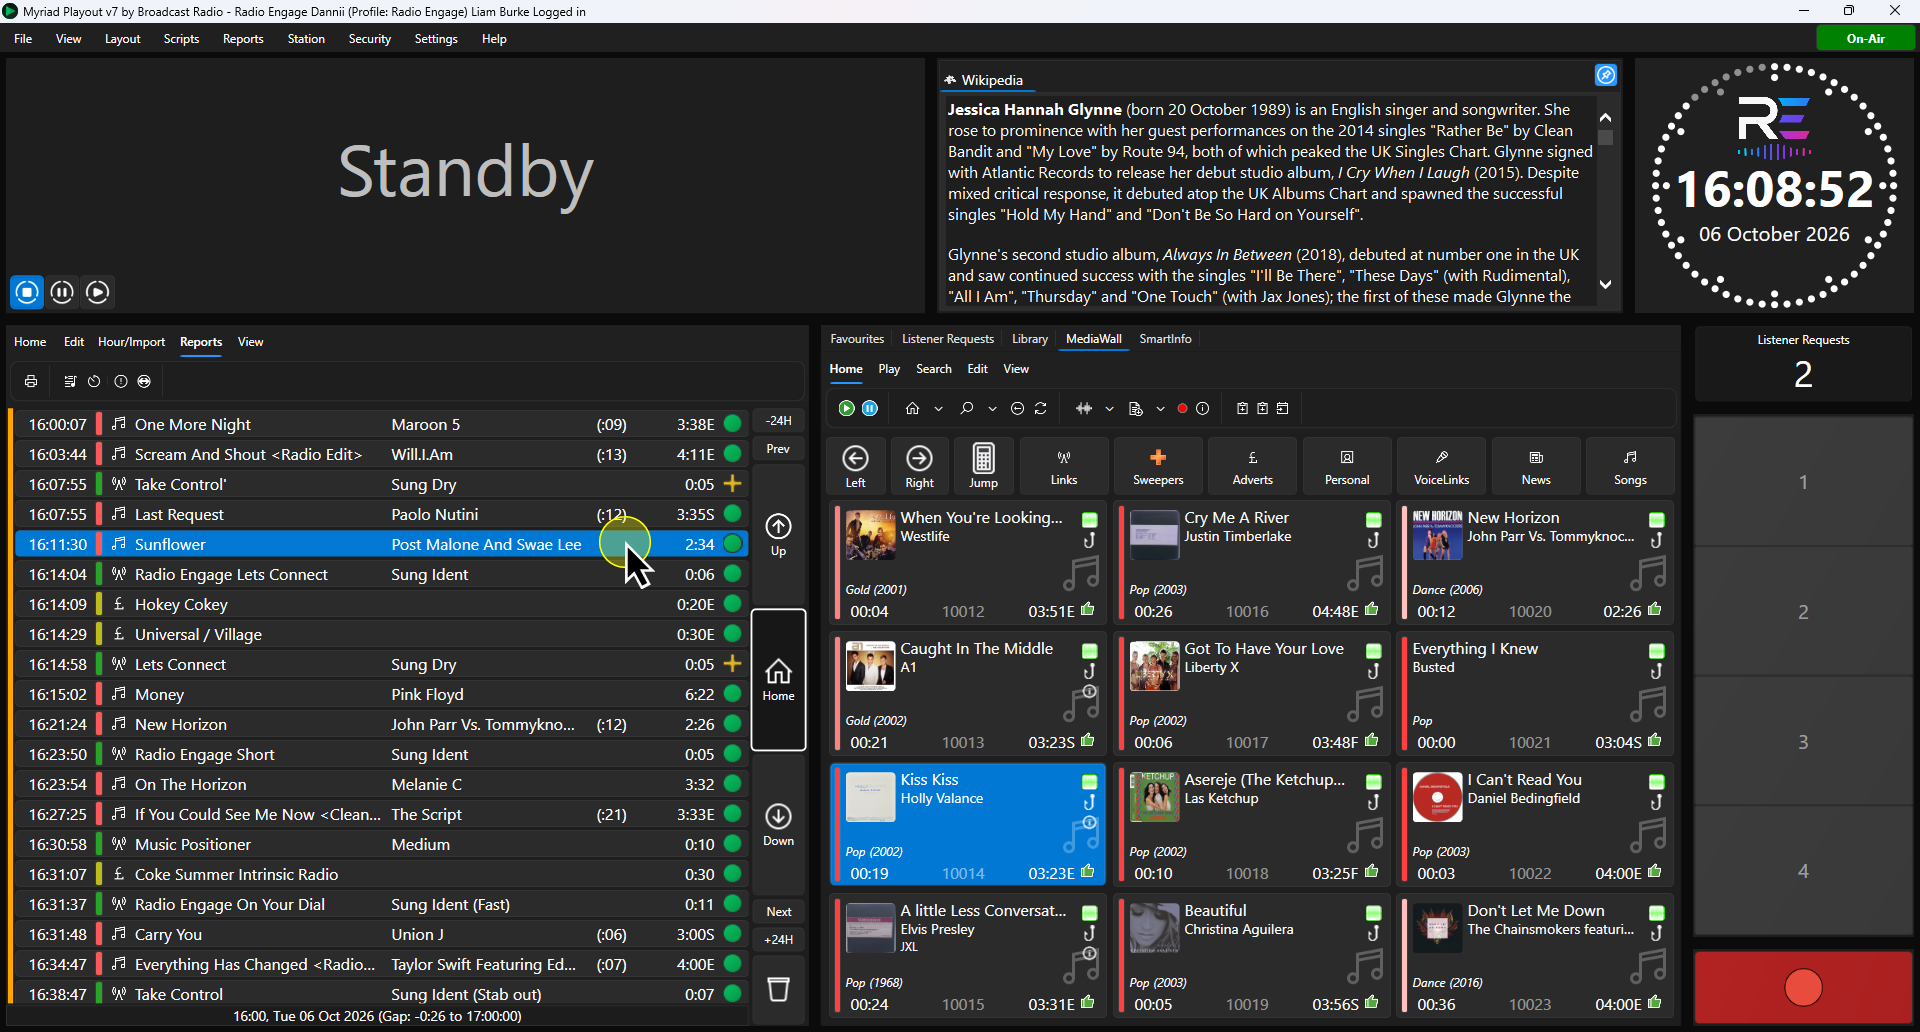
- On the Home tab, click on the Segue Editor button. You can also double click on the Media Item in the Log to open the Segue Editor.
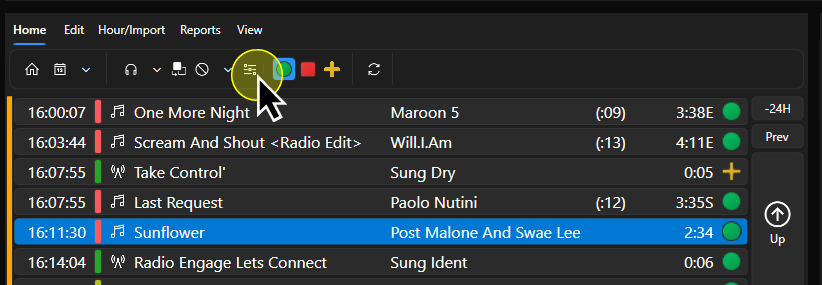
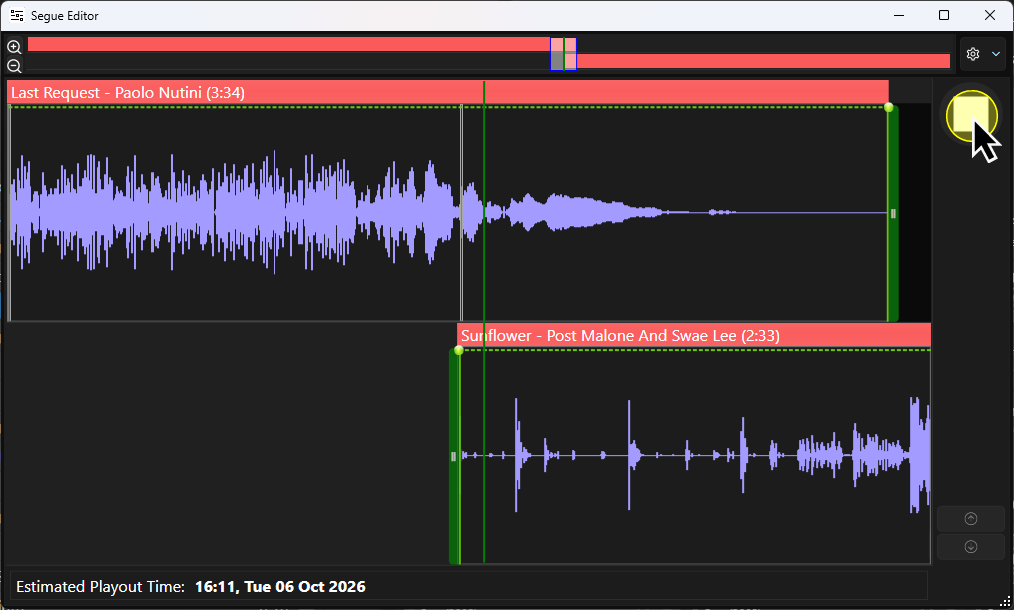
- Click on the Preview button to listen to the segue.
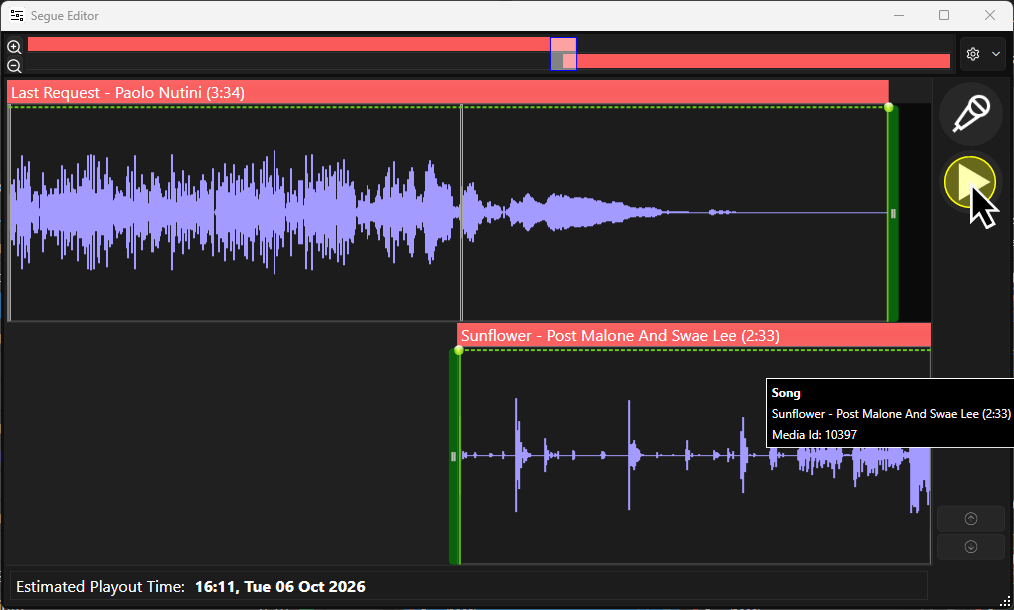
Please note you can set a specific audio device to be used for the preview in the segue editor, to avoid accidently play a segue preview on-air - see Settings Menu> Media Engine Settings. - To stop the preview click on the Stop button.
Edit The Segue Point
You can adjust the point that Myriad will segue from one item to the next in the Log.
- Select the audio item that should be playing at the end of the segue, from the Log.
- On the Home tab, click on the Segue Editor button. You can also double click on the Media Item in the Log to open the Segue Editor.
- Use the left mouse button to drag the lower track left or right. The altered segue will automatically start playing when you finish dragging.
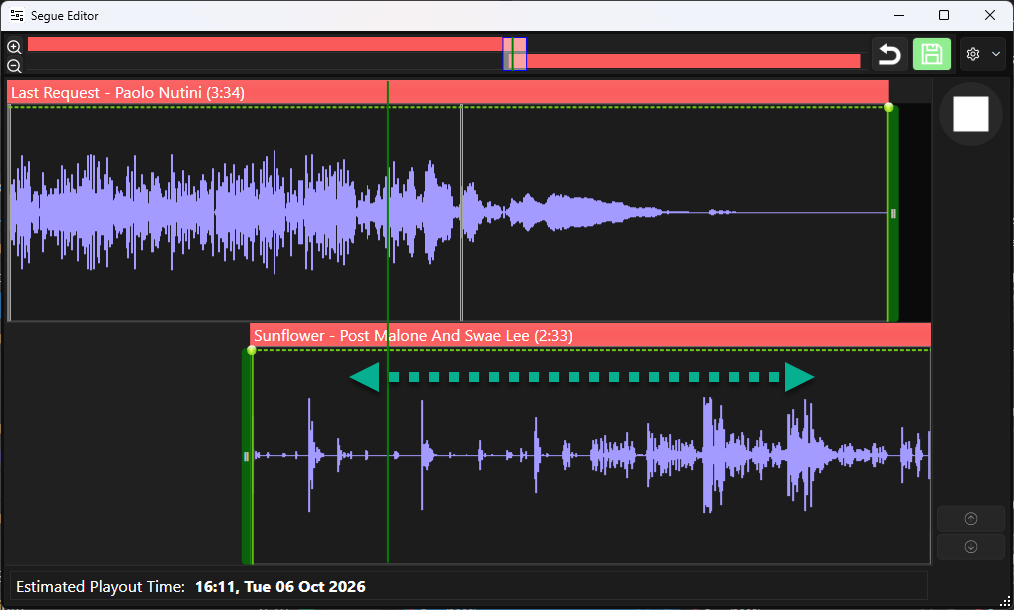
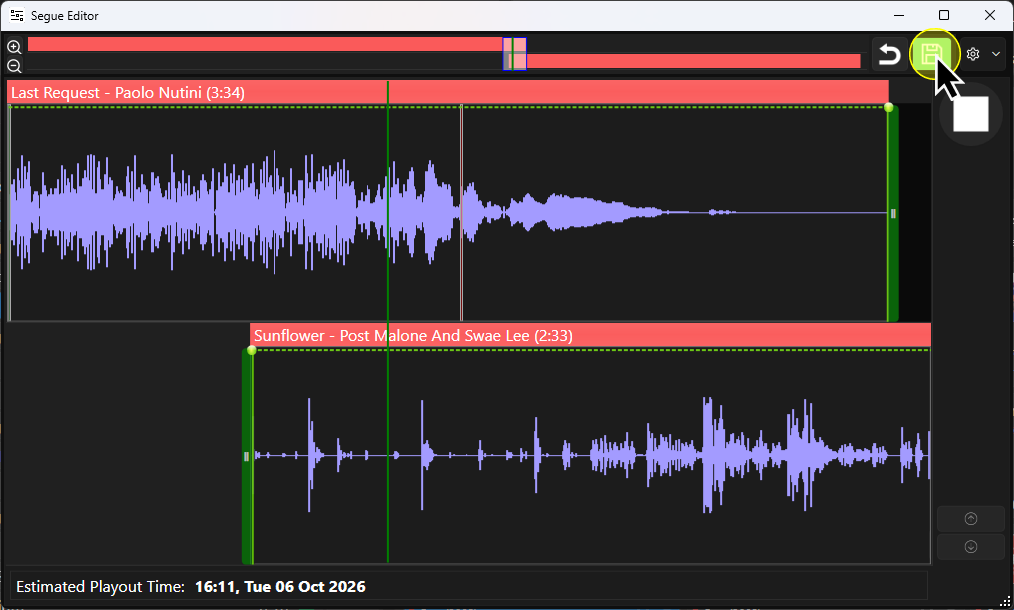
- If you are happy with the new segue point, click on the Save button.
Adjust The Volume Envelope
If you have adjusted the segue point, you are likely to need to adjust the volume envelope accordingly.
- Select the audio item that should be playing at the end of the segue, from the Log.
- On the Home tab, click on the Segue Editor button. You can also double click on the Media Item in the Log to open the Segue Editor.
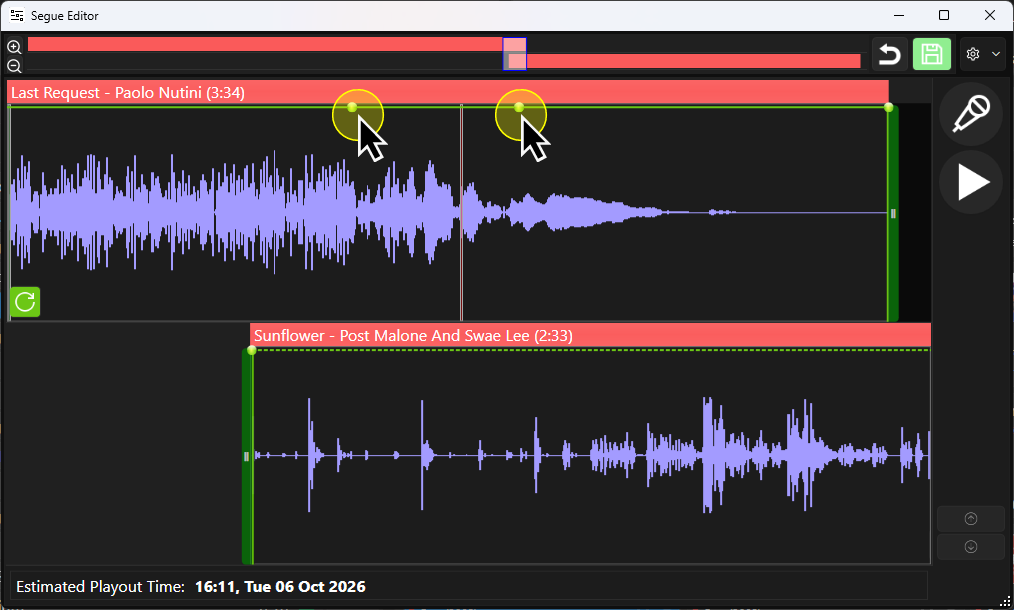
- Initially, the volume envelope will be displayed as a dotted green line along the top of each track. This signifies it has not been adjusted and will be automatically managed by Myriad.
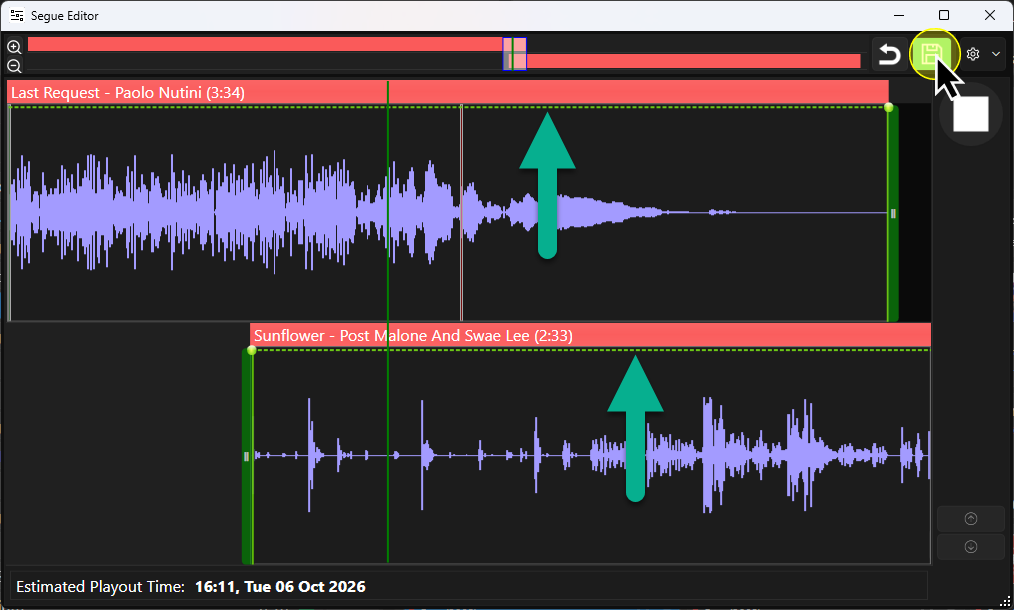
- You can add adjustment points along line by clicking on the line.
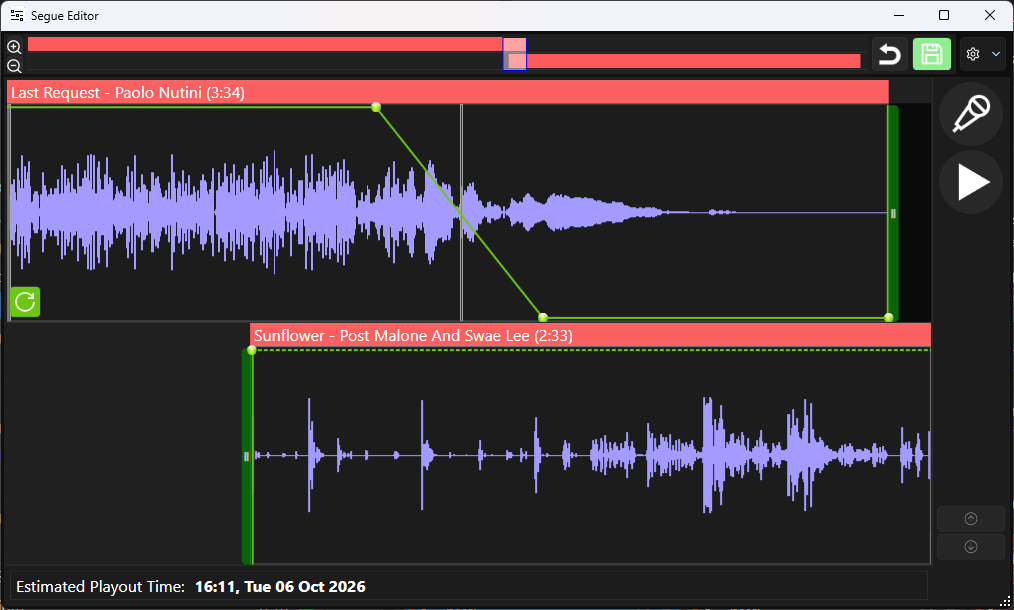
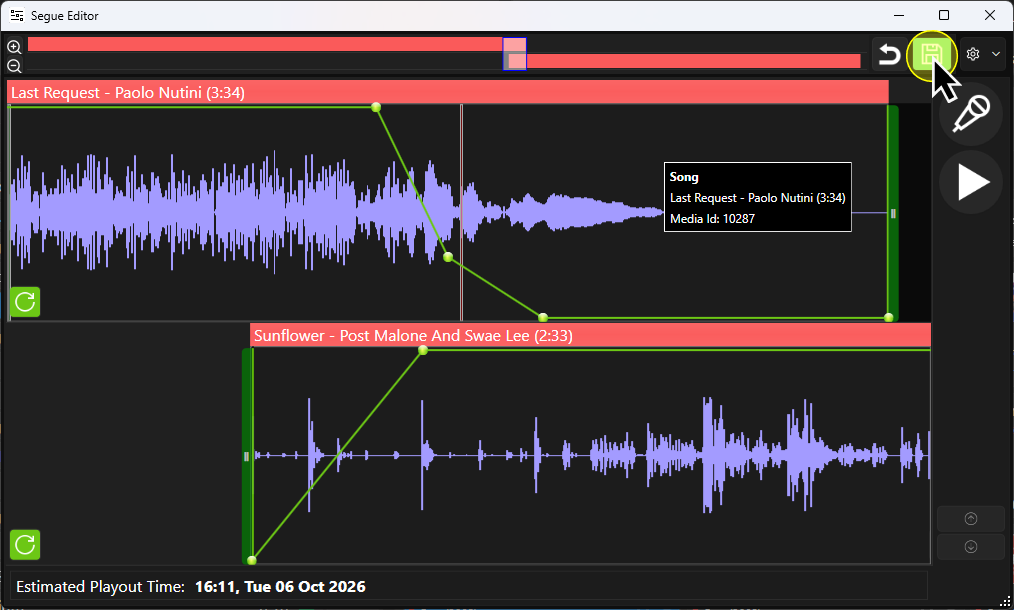
- You can then drag the adjustment points around to change the volume envelope. In the example below, we have added an early fade to compensate for the change in the Segue Point from the previous section.
You can add as many adjustment points as required to get the fade envelope you want.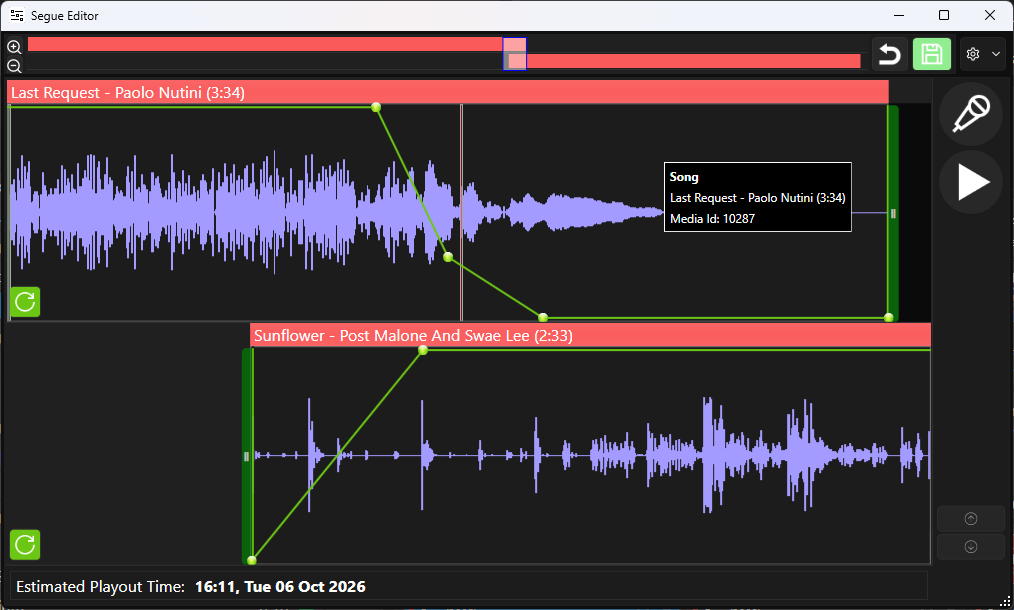
Note how the volume envelope is now a solid line. This means it has been adjusted and Myriad will not automatically make adjustments. - Click on the Preview button to review the segue.
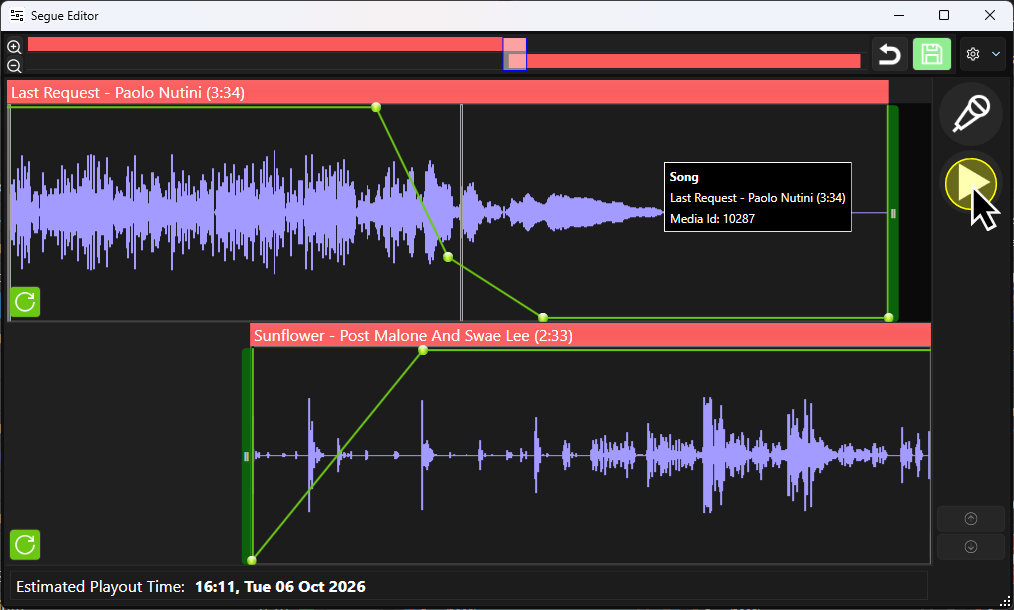
- When you are happy, click on the Save button.
Editing The Trim Markers
You can use the Trim Markers to change the start and end of audio within the specific segue.
- Select the audio item that should be playing at the end of the segue, from the Log.
- On the Home tab, click on the Segue Editor button. You can also double click on the Media Item in the Log to open the Segue Editor.
- In this example, we have reopened the segue we were working on in the previous sections. This segue has had the Segue Point and volume envelopes adjusted, leaving sections of the audio that will not be played 'on-air'. We do not have to do anything with this as Myriad will play them at zero volume (as per the volume envelope) but we could use the Trim Markers to remove the unused audio from the segue.
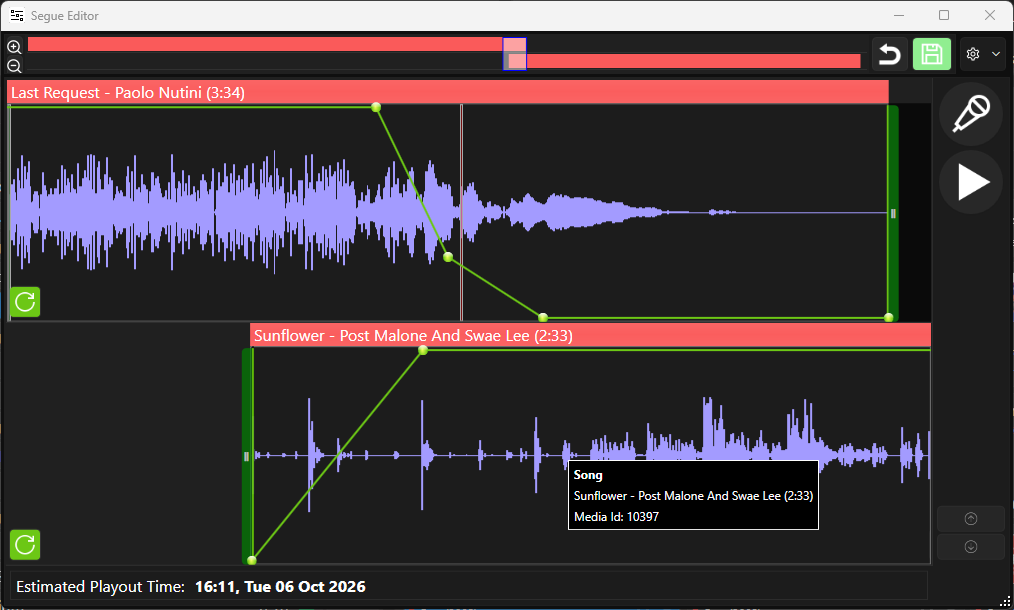
- The top track shows that the final few seconds of the audio will not be played, se we could adjust the End Trim Marker on that track to remove the audio from the seque.
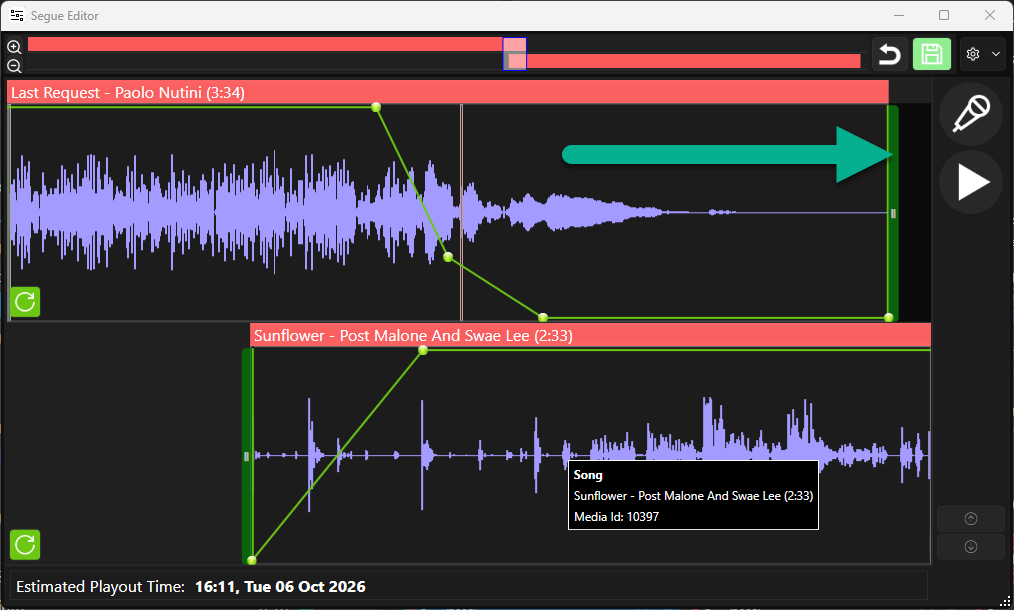
- Use the left mouse button to drag the End Trim Marker to a suitable location in the top track. Please note that the preview will start playing automatically as soon as you release the End Time Marker.
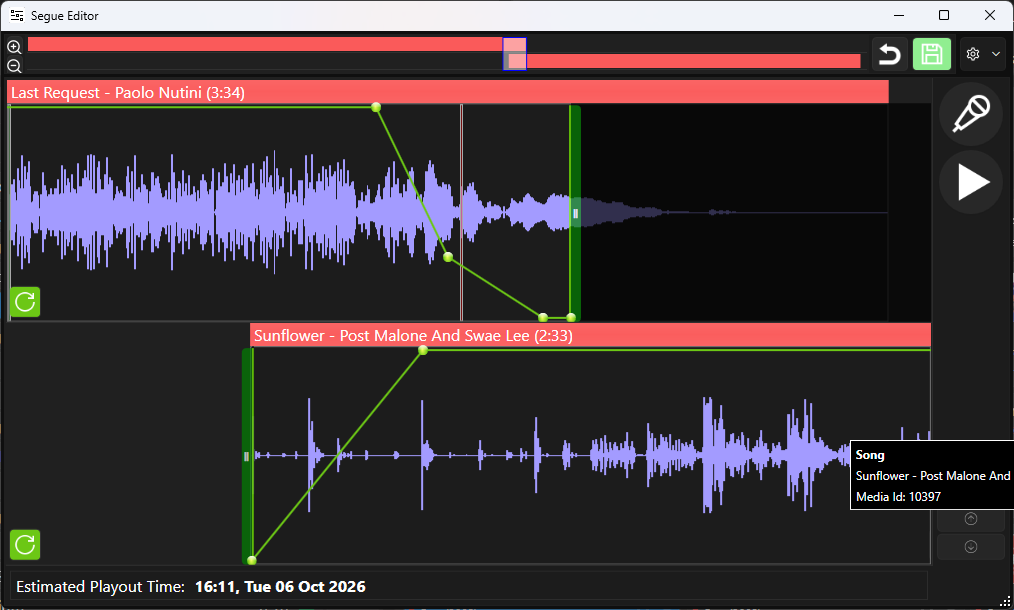
In the example above, the End Time Marker is now set before the natural end of the audio, but that is ok because we have faded out the audio before that point using the volume envelope. - If you are happy, click on Save.
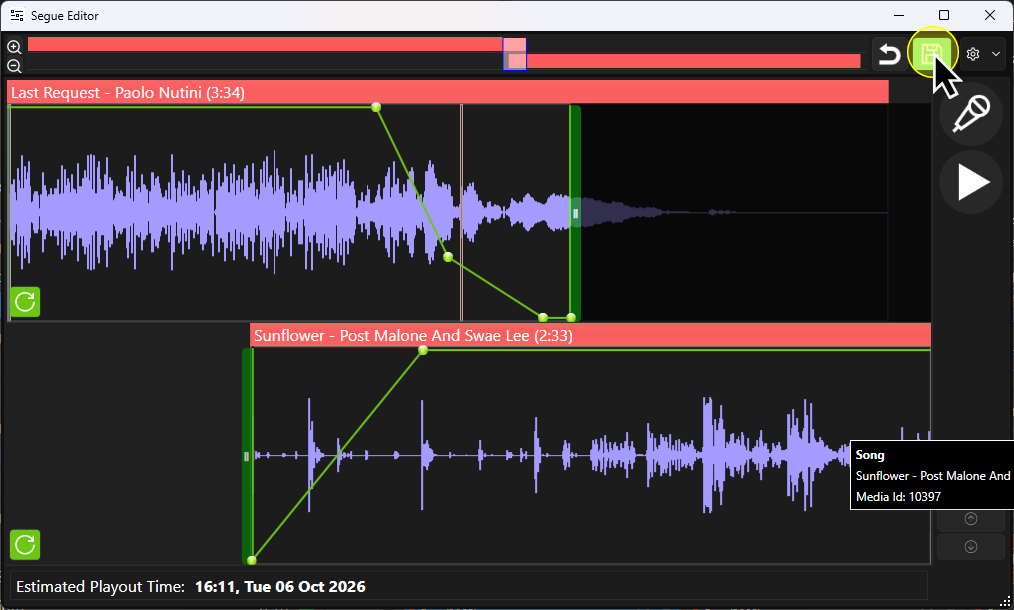
The changes are saved to the Log and timing updated accordingly.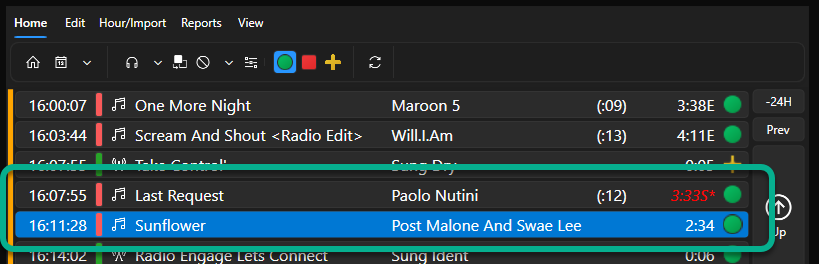
Was this article helpful?
That’s Great!
Thank you for your feedback
Sorry! We couldn't be helpful
Thank you for your feedback
Feedback sent
We appreciate your effort and will try to fix the article