Media Items can be restricted to only be available (by default) in the Library View and for scheduling, within set hours of the week.
- Select a Media Item on the Media Wall or the Library tab.
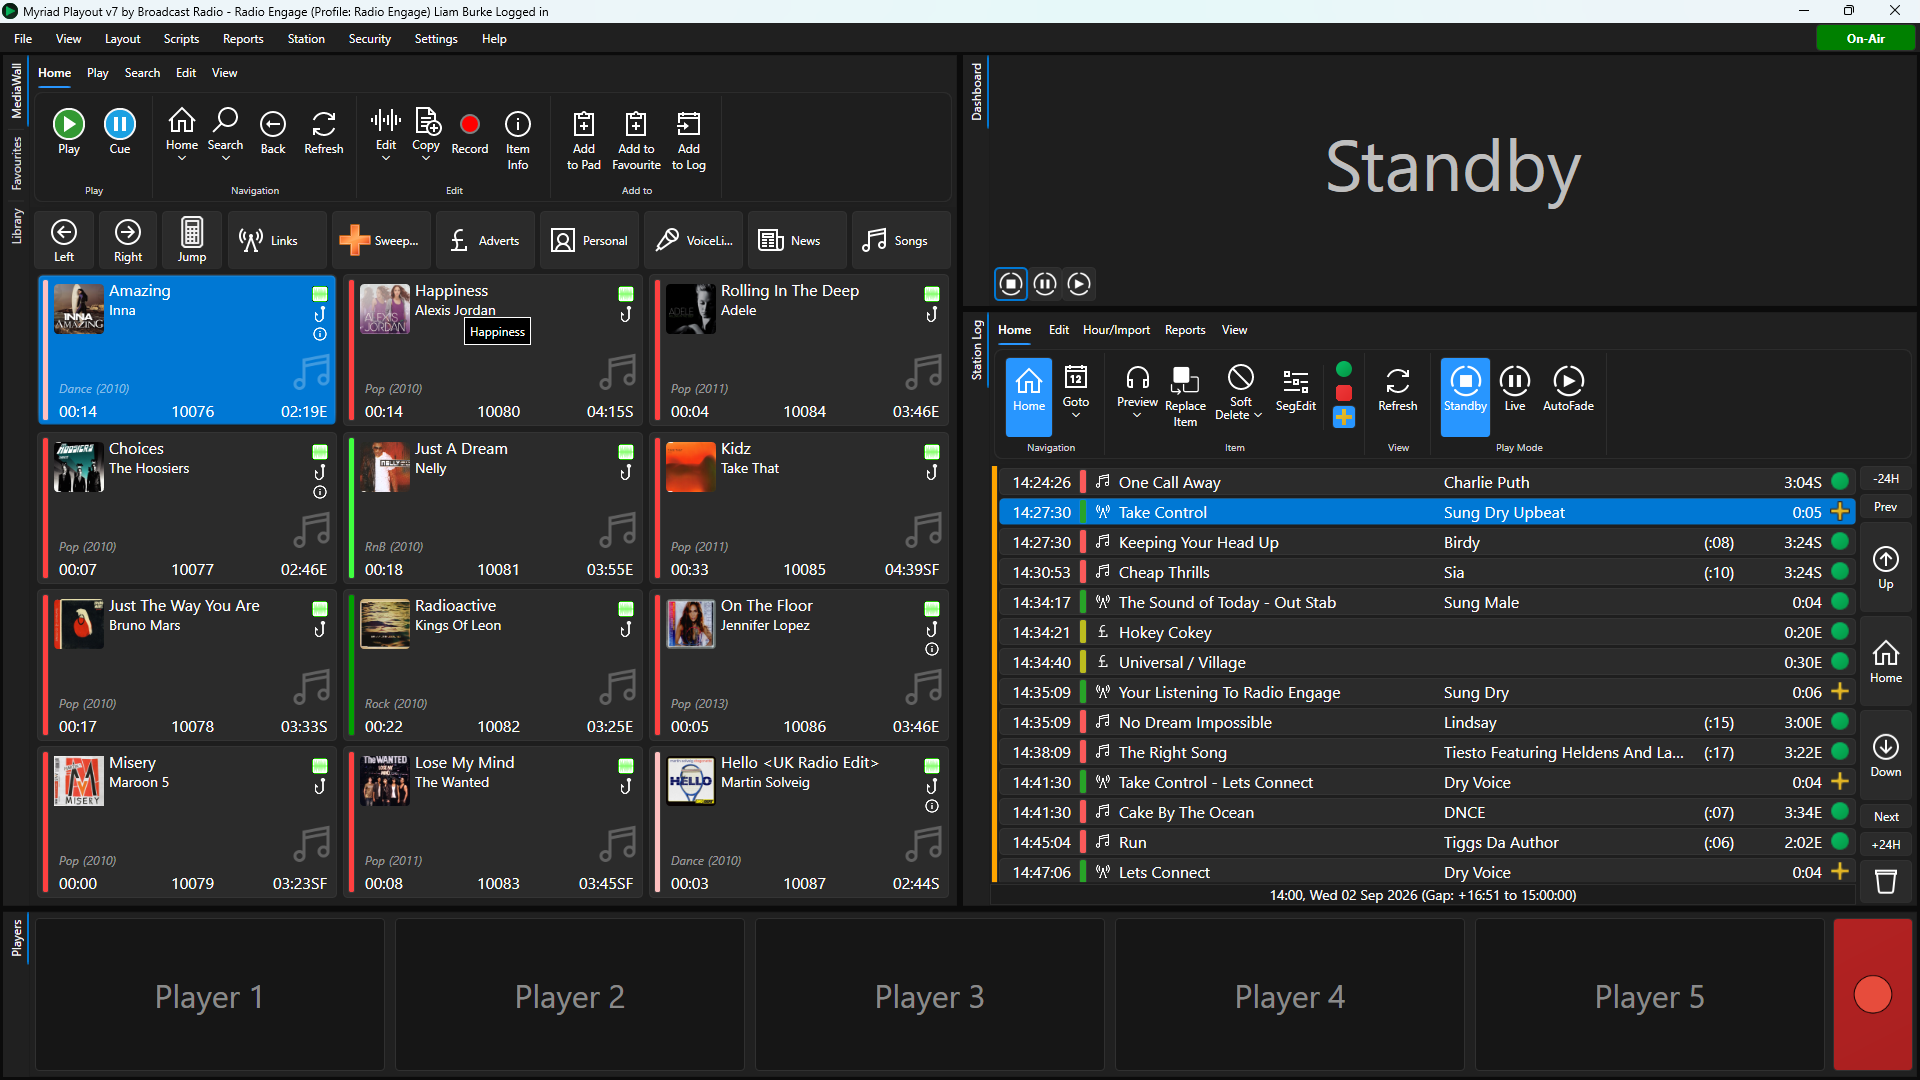
- Click on the Edit button on the Home Ribbon.
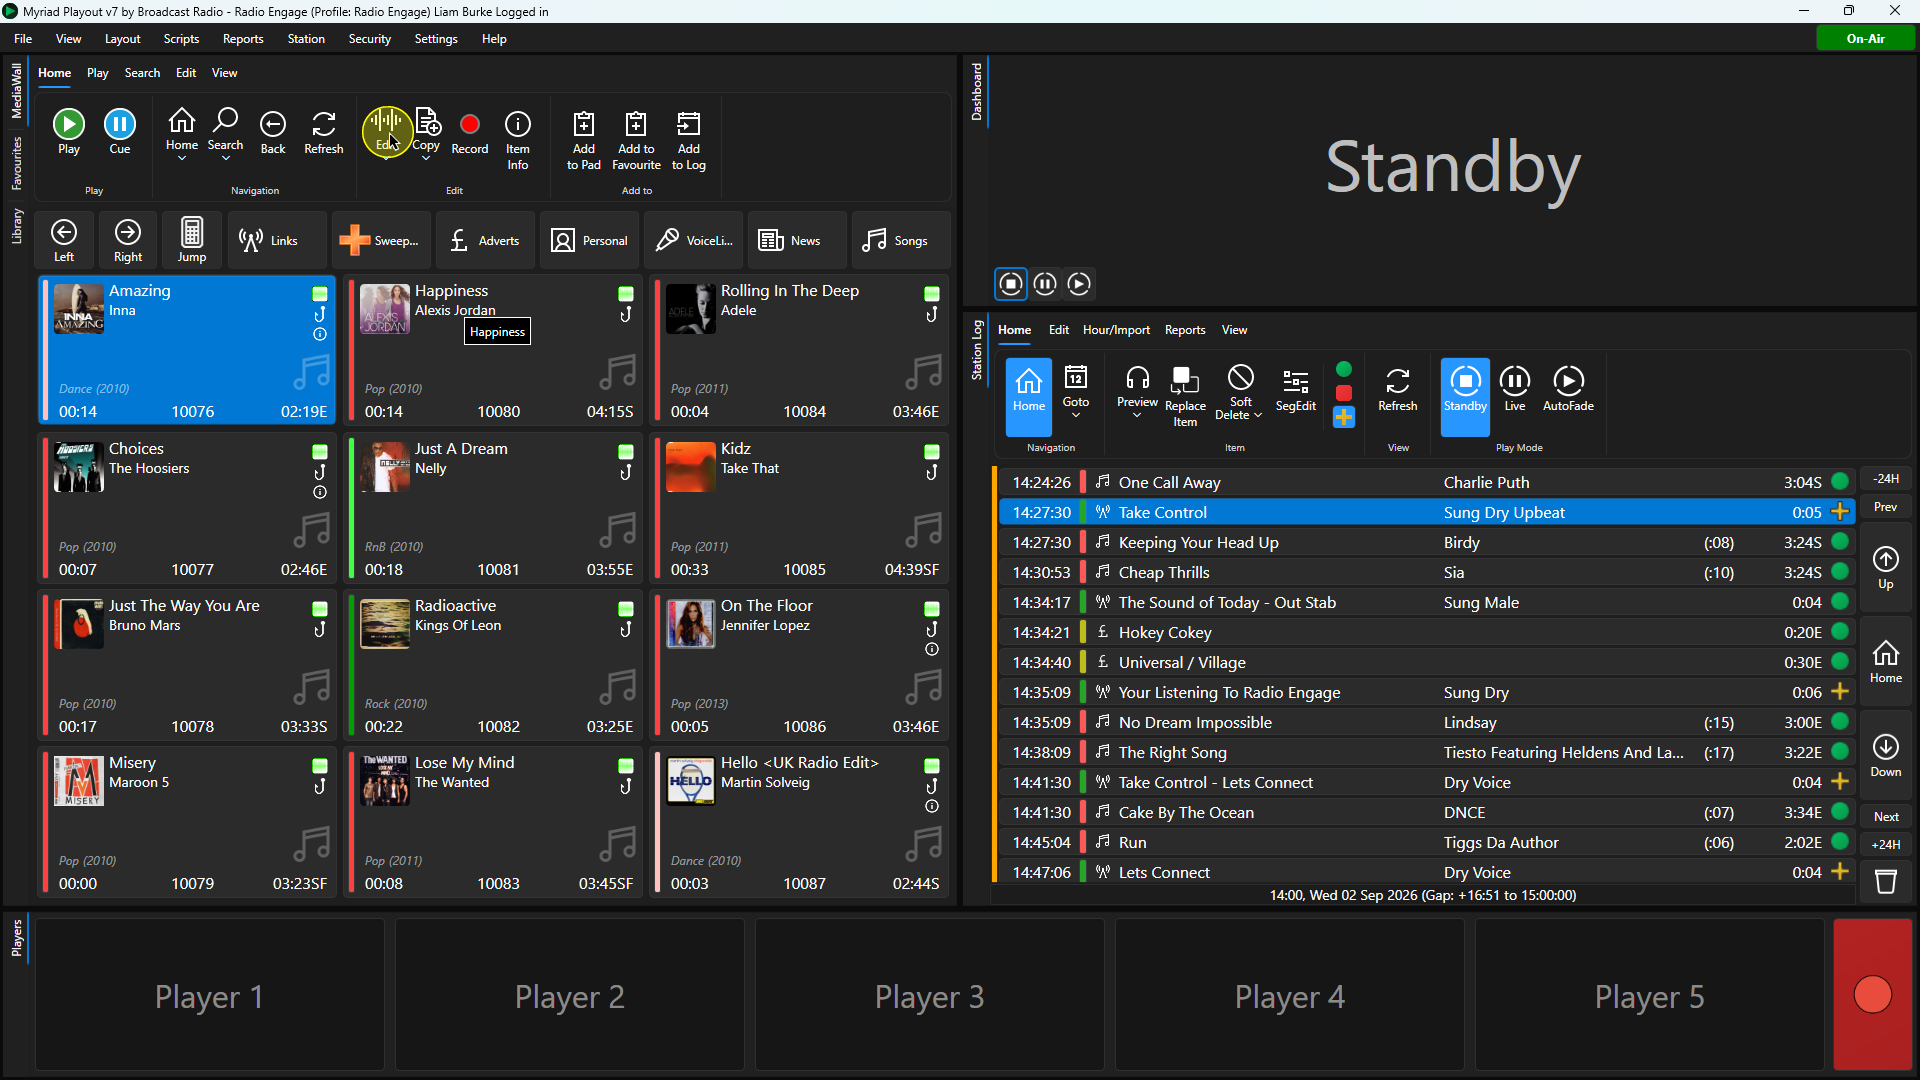
- Switch to the Restrictions tab.
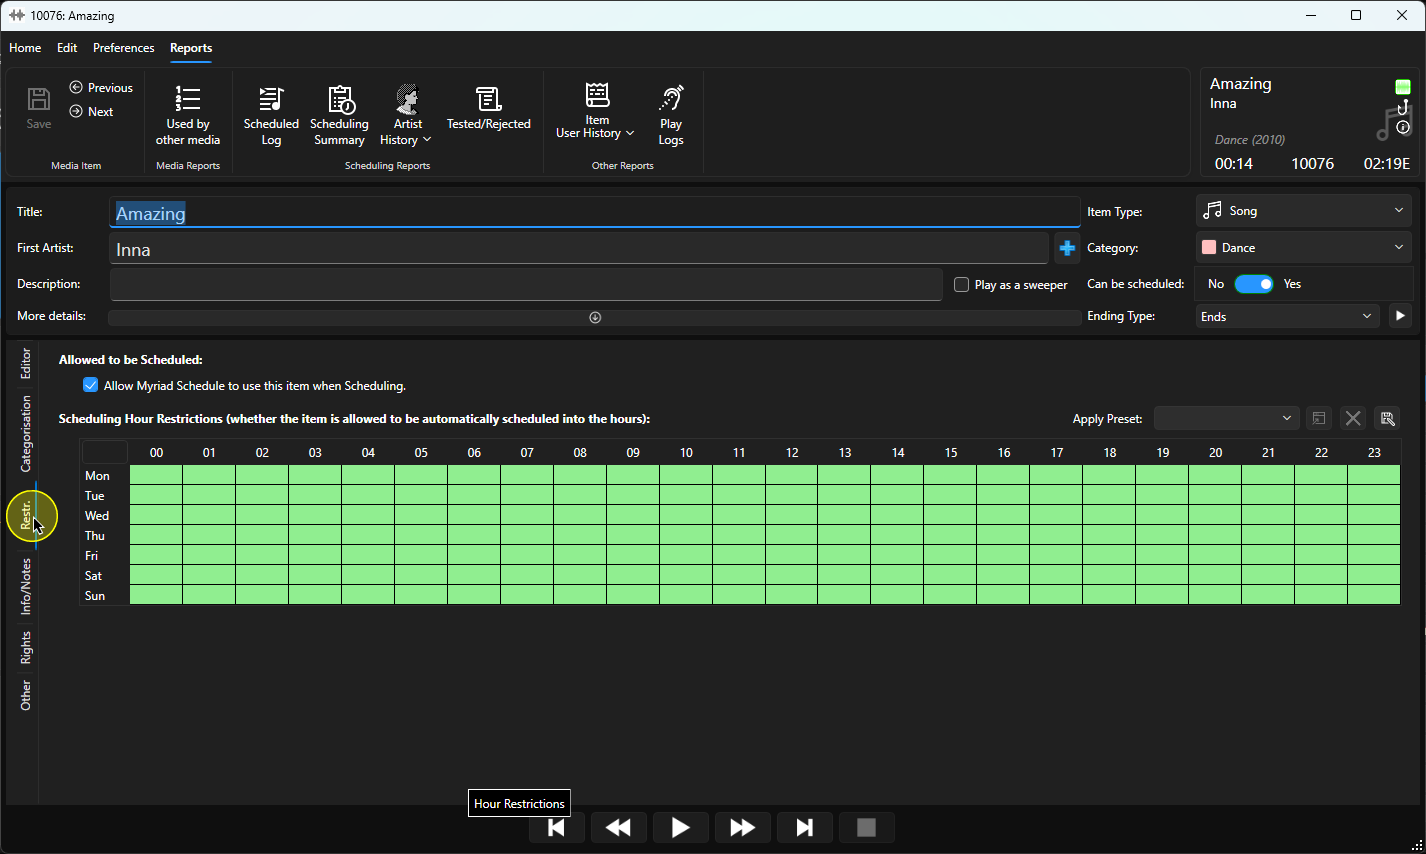
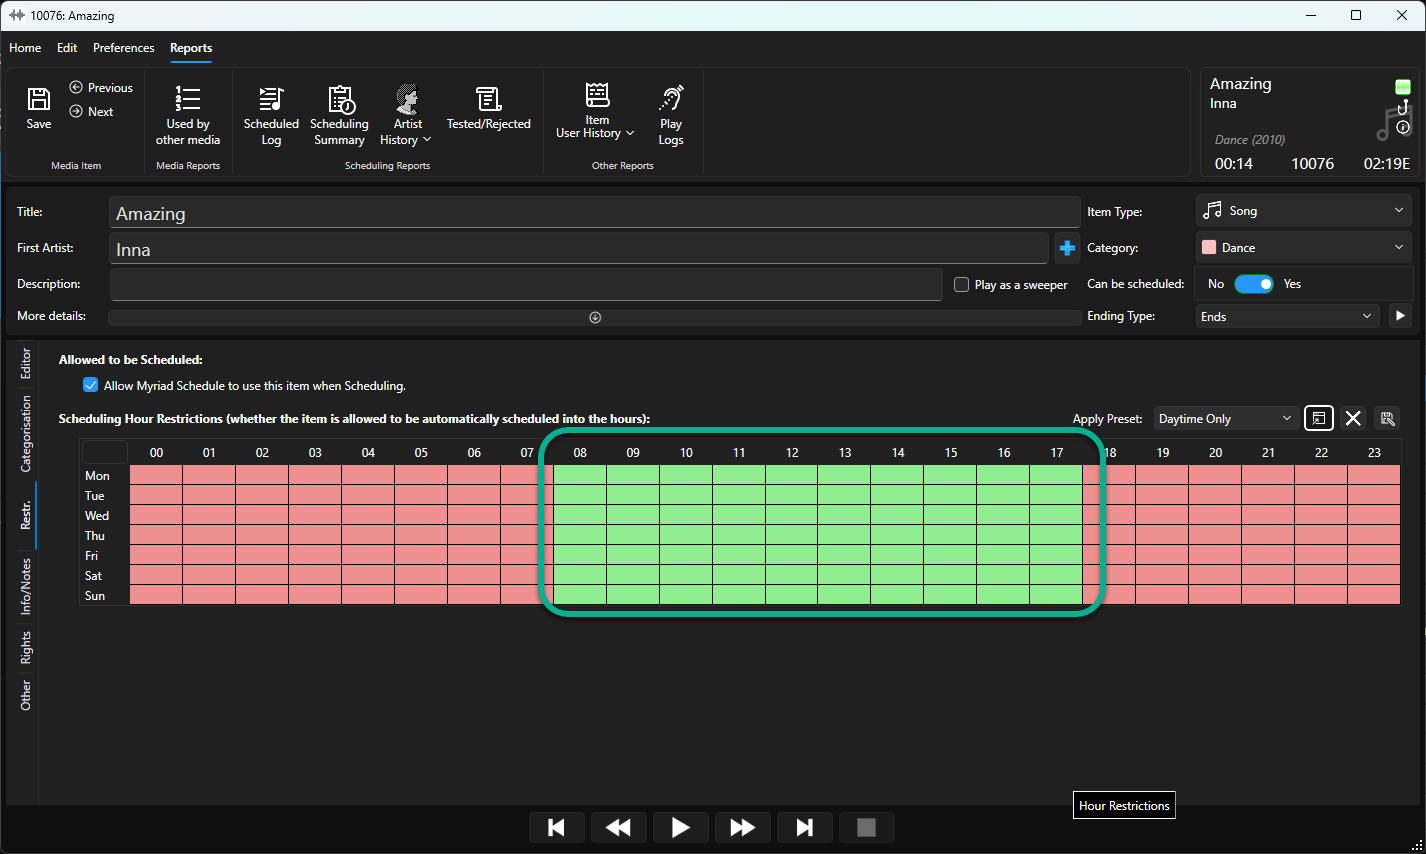
- The grid shows the hours of the week that the Media Item is available to be scheduled / displayed in the Library view (by default). Green indicates it is available, red indicates it is not.
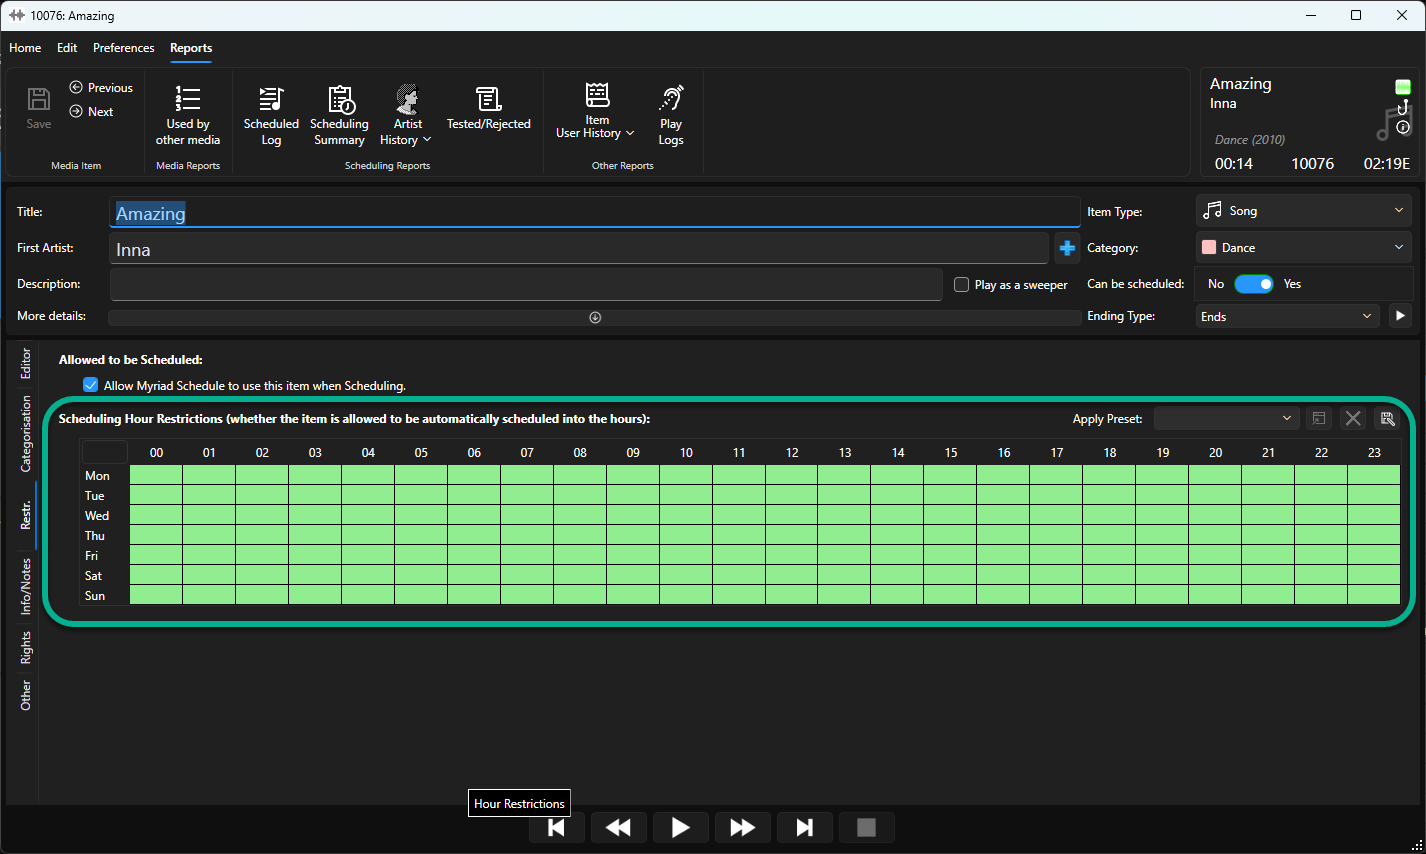
- In the example below, the Song will not be scheduled between 9am and 6pm and will also not be displayed in Library searches during that time unless the User opts to include restricted items in the search.
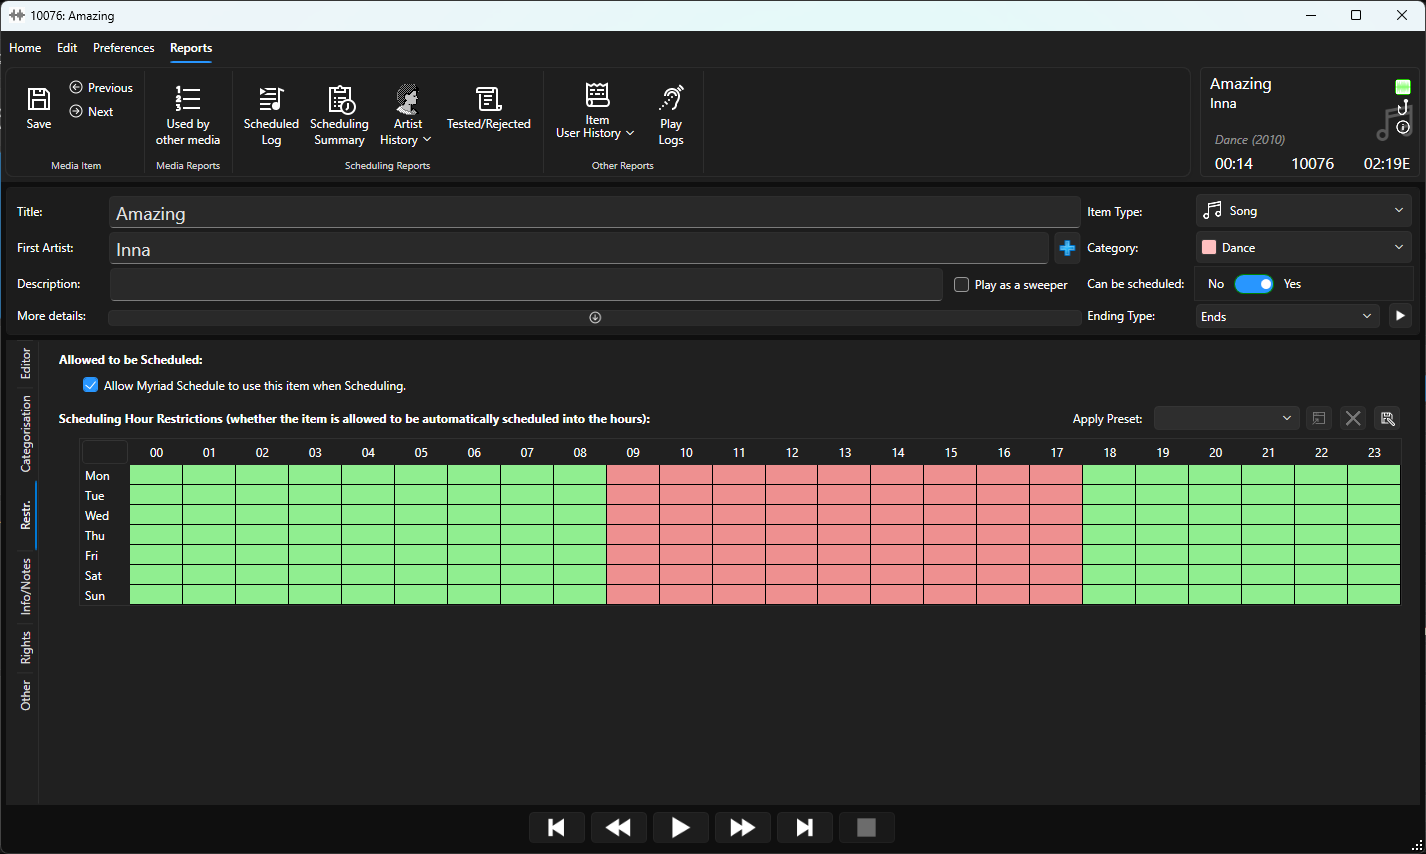
- To toggle an hour between red and green, simply click on it. You can also left-click drag over multiple hours to toggle them.
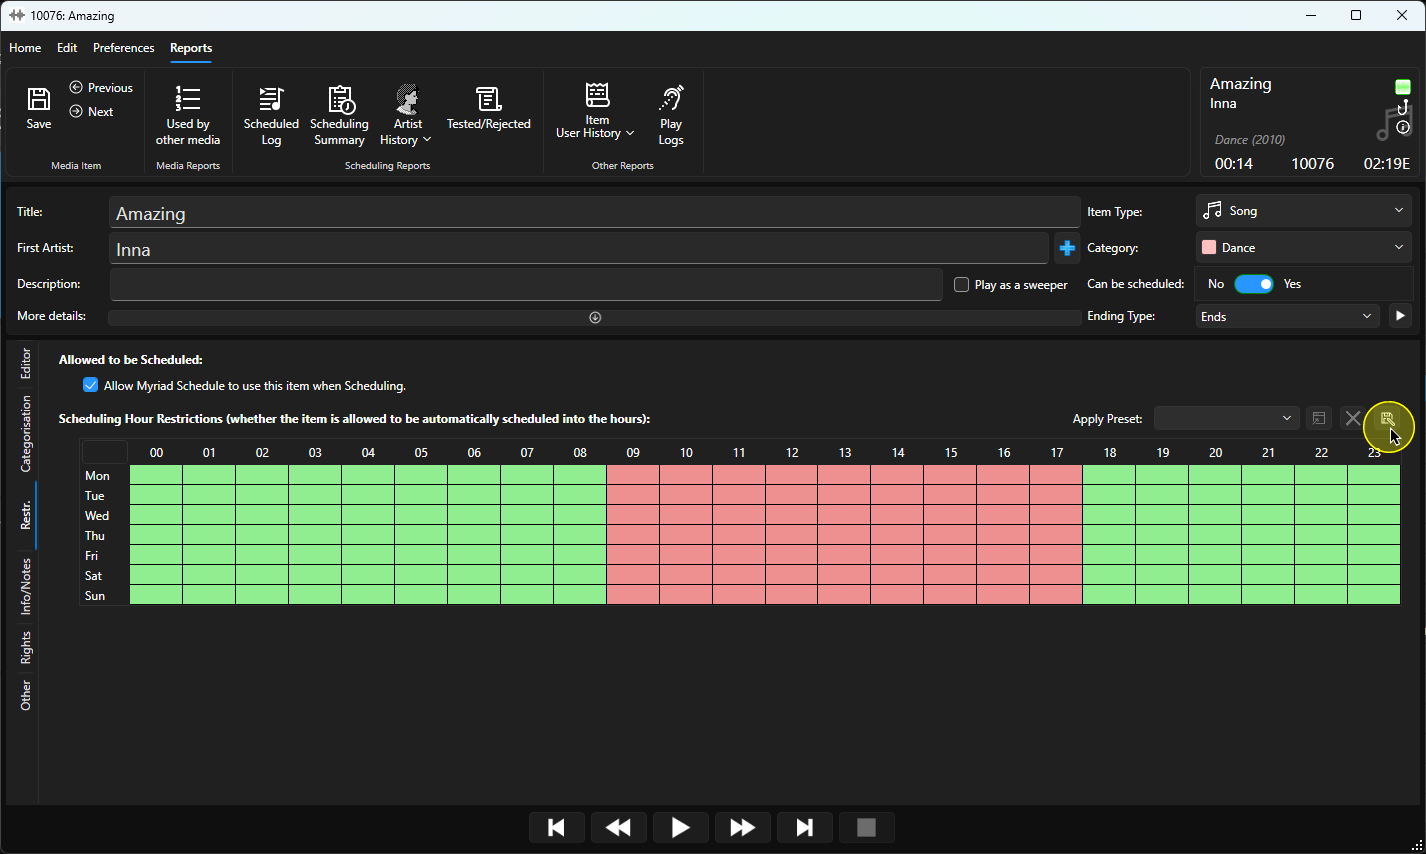
- If you want to use the selected hour restriction pattern on other Media Items, you can click on the Save As Preset button to save the pattern as a preset.
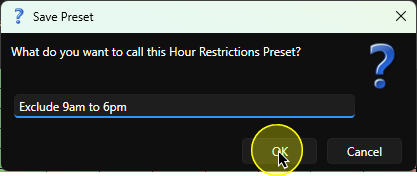
- Give the preset a suitable name and click on OK.
- To apply an existing preset, drop down the Apply Preset option list and select the Preset you want to apply.
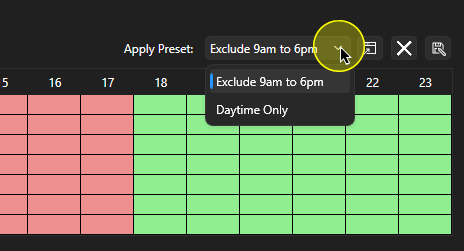
- Click on the Apply button to apply the selected preset.
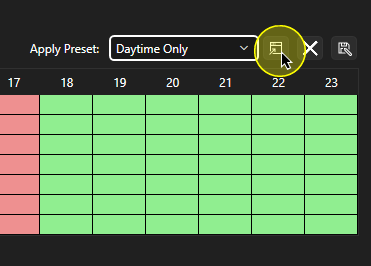
- In this example, we have applied a preset called 'Daytime Only' which has been set to only make the item available from 8am to 6pm.
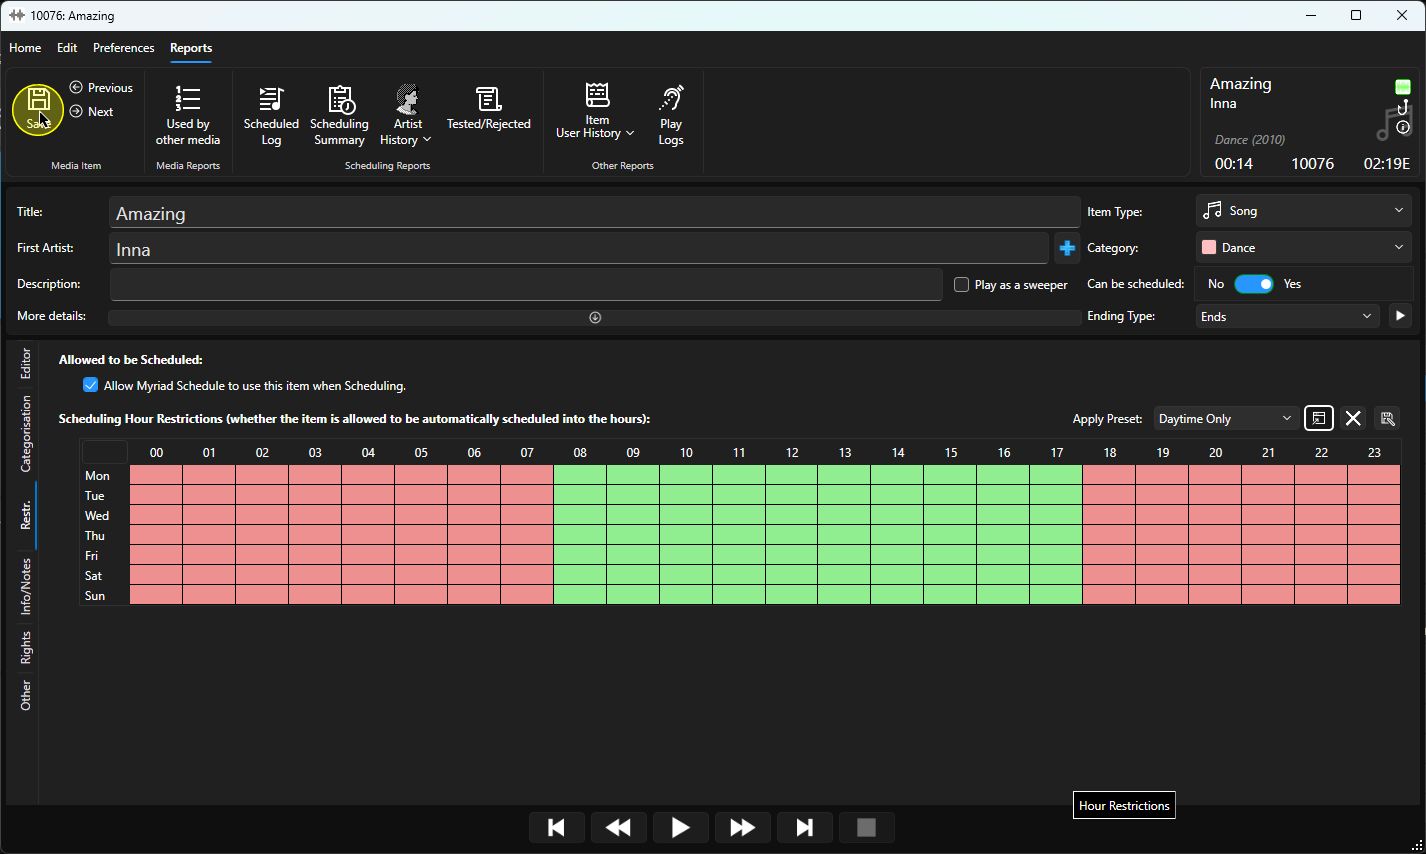
- When you are happy, click on Save.
Was this article helpful?
That’s Great!
Thank you for your feedback
Sorry! We couldn't be helpful
Thank you for your feedback
Feedback sent
We appreciate your effort and will try to fix the article