Audio Monitor v6 allows you to configure a remote PC running another instance of Audio Monitor, as the audio source for local monitoring.
For example, you may have Audio Monitor running on a PC in your racks room monitoring the audio output from your playout system.
You can then run a second copy of Audio Monitor in your control room that is remotely connecting to the instance in the racks room, to provide audio level confidence in the control room without needing to route audio to the control room directly.
In this example, we will show you how to configure both Audio Monitors to allow this setup.
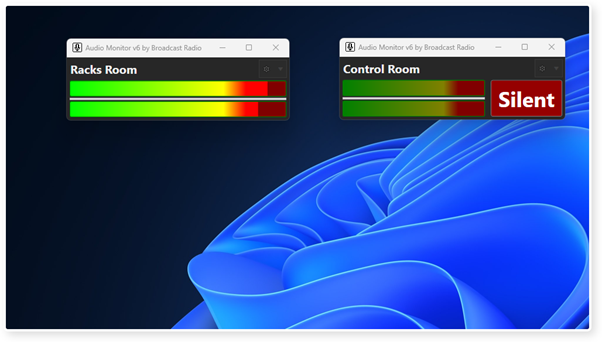
1. We have two instances of Audio Monitor running (using different Profiles) to represent the Audio Monitor in racks and the second Audio Monitor in the control room.
The Racks Room instance is already configured to monitor the 'off air' audio and the Control Room instance is currently configured to use a local sound device.
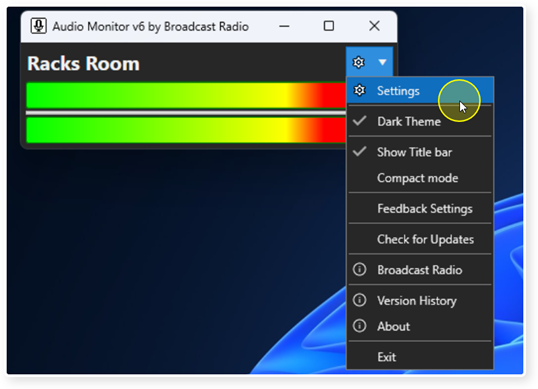
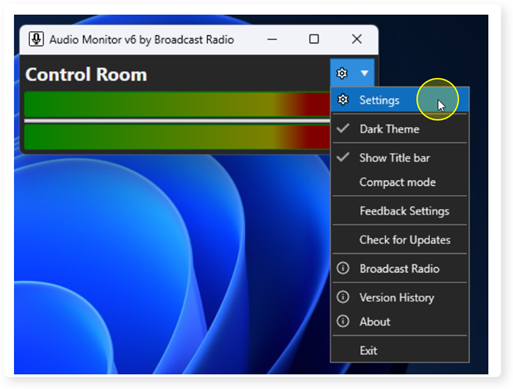
2. The first step is to enable Remote Connections on the Racks Room instance. Click on the Settings Cog and select Settings from the menu.
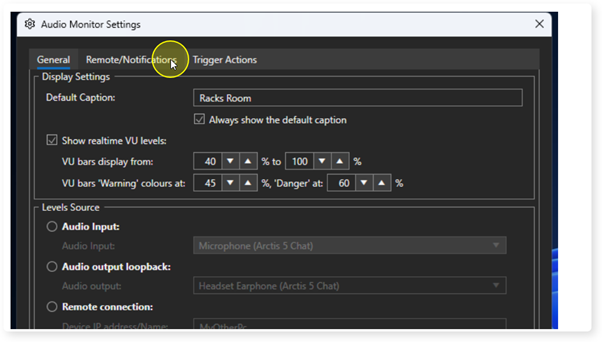
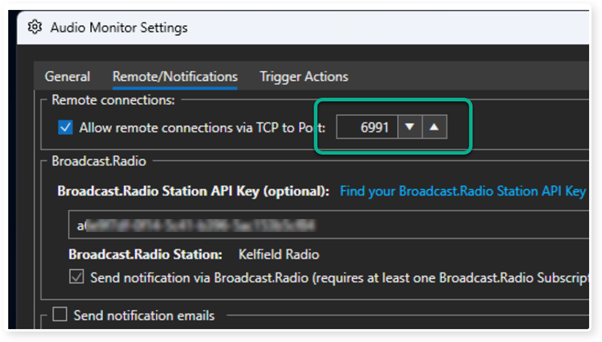
3. Select the Remote/Notifications tab.
4. Enable the Allow Remote Connections via TCP option.
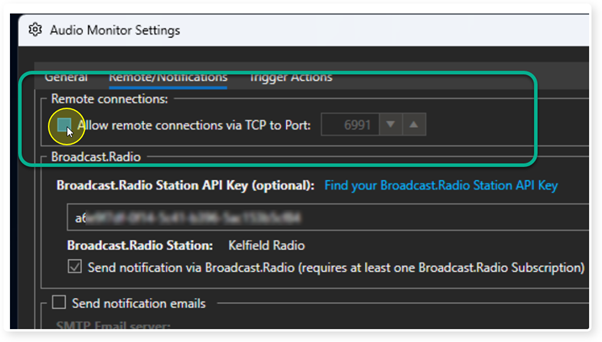
5. If you are running multiple Audio Monitors on a single PC, you will need to set a unique Port number for each. As we are only setting up a single remote connection, we can leave it on the default port.
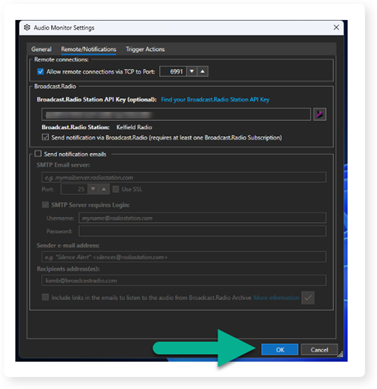
6. Click OK to save the settings.
7. Next, go to the Settings menu option on the Control Room Audio Monitor.
8. Make sure you are on the General tab.
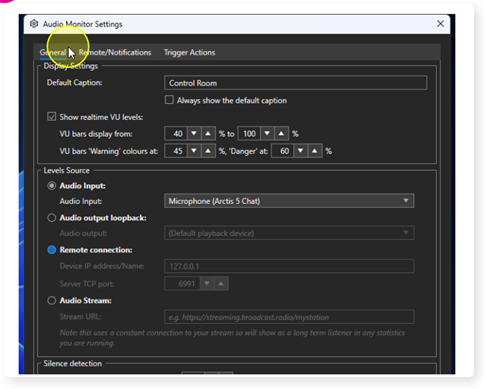
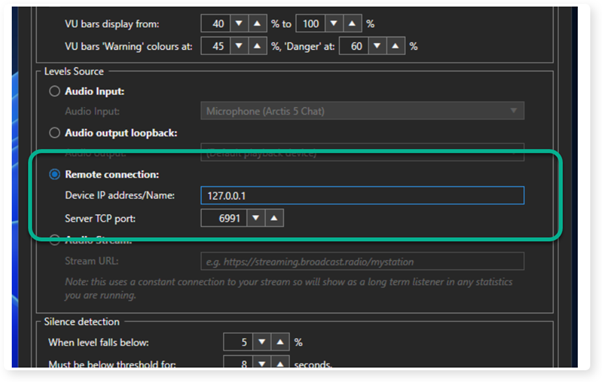
9. Select the Remote Connections option in the Levels Source section.
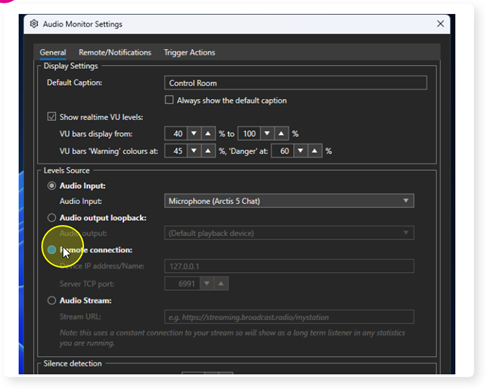
10. Type in the IP address of the PC running the remote Audio Monitor (Racks Room). In this example, they are running on the same PC so the IP address is set to 127.0.0.1.
You also need to set the Port Number to connect to (this was set in the Racks Room settings in an earlier step).
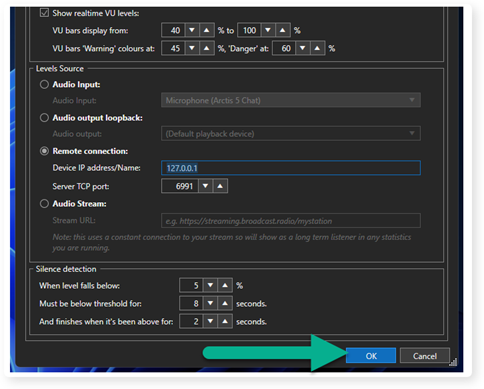
11. Once you have added the IP address and Port, click on OK to save the settings.
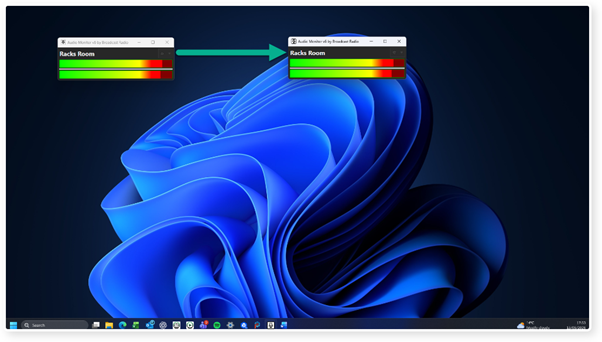
12. The 'Control Room' instance will not be using the Racks Room Audio Monitor as it's audio source and will adopt all the settings and Silence Alerts from the source Audio Monitor.
Was this article helpful?
That’s Great!
Thank you for your feedback
Sorry! We couldn't be helpful
Thank you for your feedback
Feedback sent
We appreciate your effort and will try to fix the article