Myriad 7 gives you the ability to add looped sections to any media item — perfect for creating extended beds, looping intros, or customizable timing during live and automated shows.
This feature helps presenters and producers control when a section repeats and when to jump out of the loop to continue the track.
What Is a Media Loop?
- A loop is a defined section of a media item that can be repeated during playback
- Myriad shows a loop icon on the Media Wall to indicate loop-enabled items
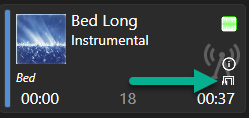
- The loop will repeat up to a set maximum number of iterations, after which playback continues normally
Example: A 30-second news bed may loop an 18-second section up to 10 times before continuing to the out-stab.
How Loops Work in Playback
During playback:
- Myriad plays the item until the loop start
- It loops the defined section up to the maximum iterations
- You (or automation) can click a button to jump out of the loop early, skipping to the end of the loop
- Playback then resumes from that point through the rest of the file
Setting Up a Loop
- Open the Media Item and click Edit.
- Switch to the Editor tab.
- Go to Home Tab → Enable Loops

- You will now see a looping section bar in the waveform display
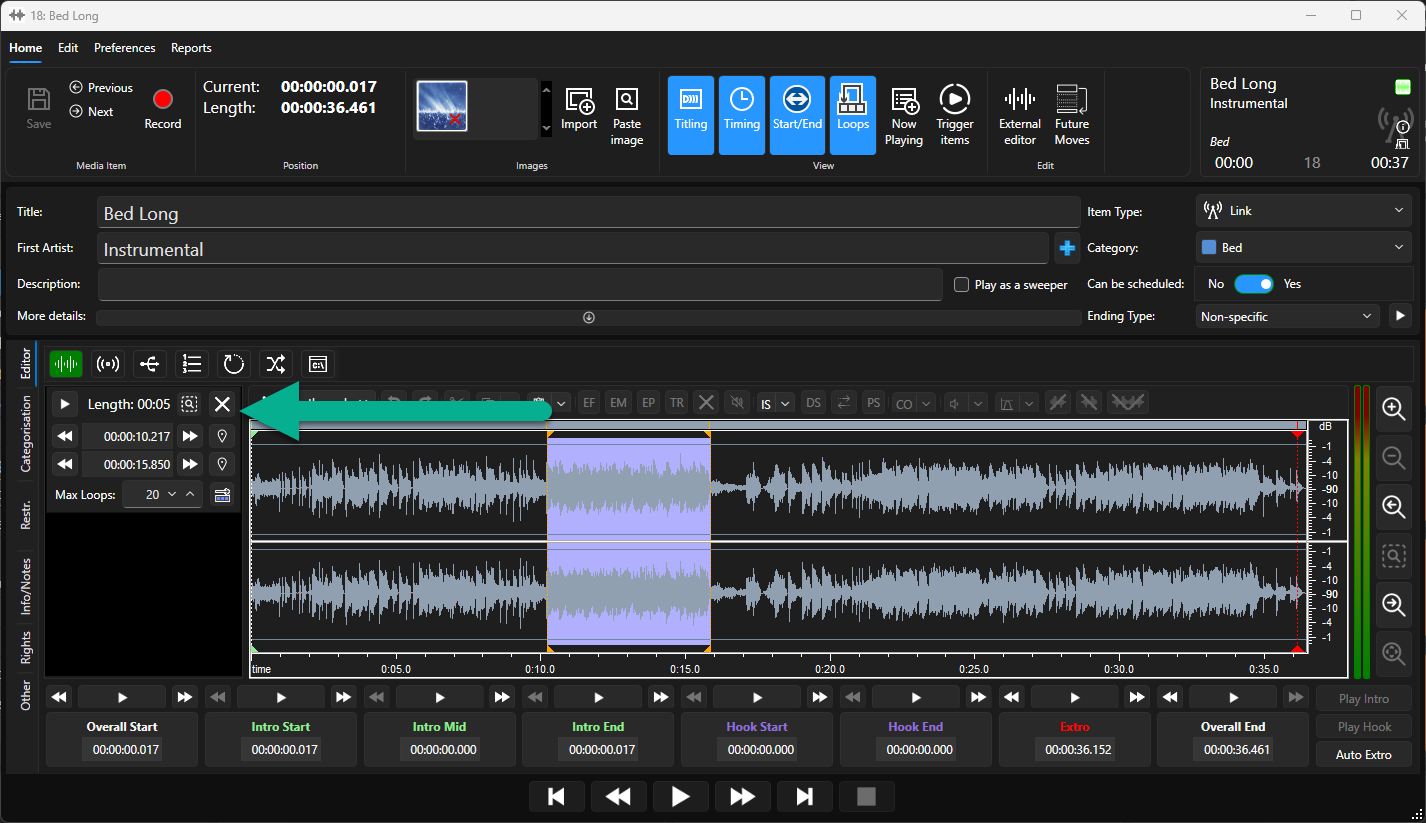
- If you do not have a Loop configured on this Media Item, click on the '+' button to add a loop.
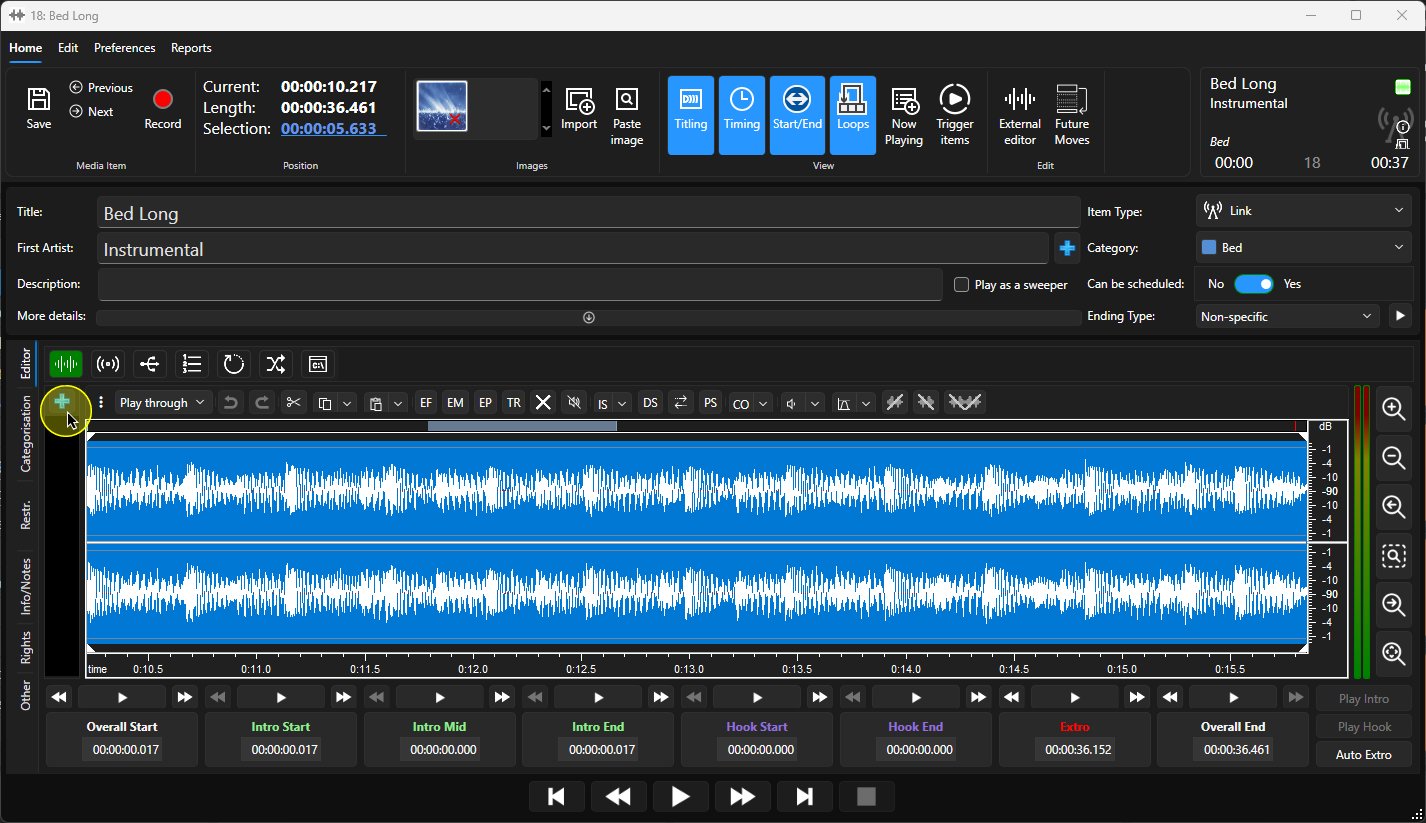
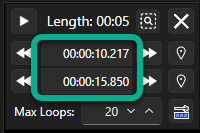
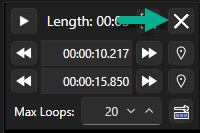
- Type in the Start & End times for the Looped section.
The loop duration is displayed at the top of the loop panel.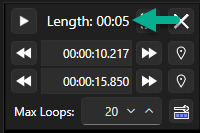
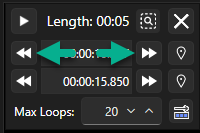
- You can use the nudge buttons to increase or decrease the time by 0.01 seconds.
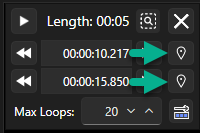
- You can use the Location button to set the Start / End time to the currently play location in the wavefile.
- You can set the maximum number to loops.
- You can use the Loop Exit Option button to set what Myriad should do when a User manually cancels a loop (or the maximum number of loops is reached). Click the button to toggle modes.
Jump Mode (default for beds): When the loop button is clicked, playback jumps to the end of the loop and continues with the rest of the file
Use for beds with ending stabs or transitional content
Play Through Mode (ideal for songs):
Playback continues through the loop section, allowing the track to transition smoothlyUse for intro loops or ambient intros that flow into the main song
To review the loop, click on the Loop Play button.
- You can select the current looped duration on the main waveform display using the Select Loop button.
- You can delete the loop using the delete button.
Using Loops In Media Players
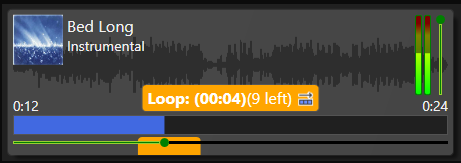
When a Media Item with a Loop is dropped into a Media Player, the player will show the position and duration of the looped section.
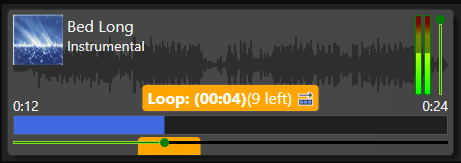
- Once the Media Item is played in the Media Player the audio will play through to the end of the Looped Section.
- It will then automatically loop back to the beginning of the Looped Section.
- This will continue until:
- The loop is manually exited by clicking on the Loop Exit Button.

- Or the maximum number of Loop Iterations is meet (20 in the example above).
- The loop is manually exited by clicking on the Loop Exit Button.
- Once the Loop Exit is triggered, the audio will either jump to the end of the Looped Section or carry on from it's current position through to the end of the Media Item. This is deteremined by the Loop Exit Mode.
- Play Through Mode

- Jump to End Mode

- Play Through Mode
Summary
Looping in Myriad gives you control over how content behaves during playback:
- Ideal for beds, stingers, intros, and more
- Can repeat defined sections a set number of times
- Offers flexible exit behaviors based on use case
- Fully editable via the Editor tab with waveform precision
Using loops enhances live presentation, improves timing control, and adds polish to your station’s audio workflow.
Watch The Video
Was this article helpful?
That’s Great!
Thank you for your feedback
Sorry! We couldn't be helpful
Thank you for your feedback
Feedback sent
We appreciate your effort and will try to fix the article